Recently, I switched from using an iPhone X for two years to a Redmi K20 Pro to experience the sweet freedom of Android.
Unlocking Bootloader#
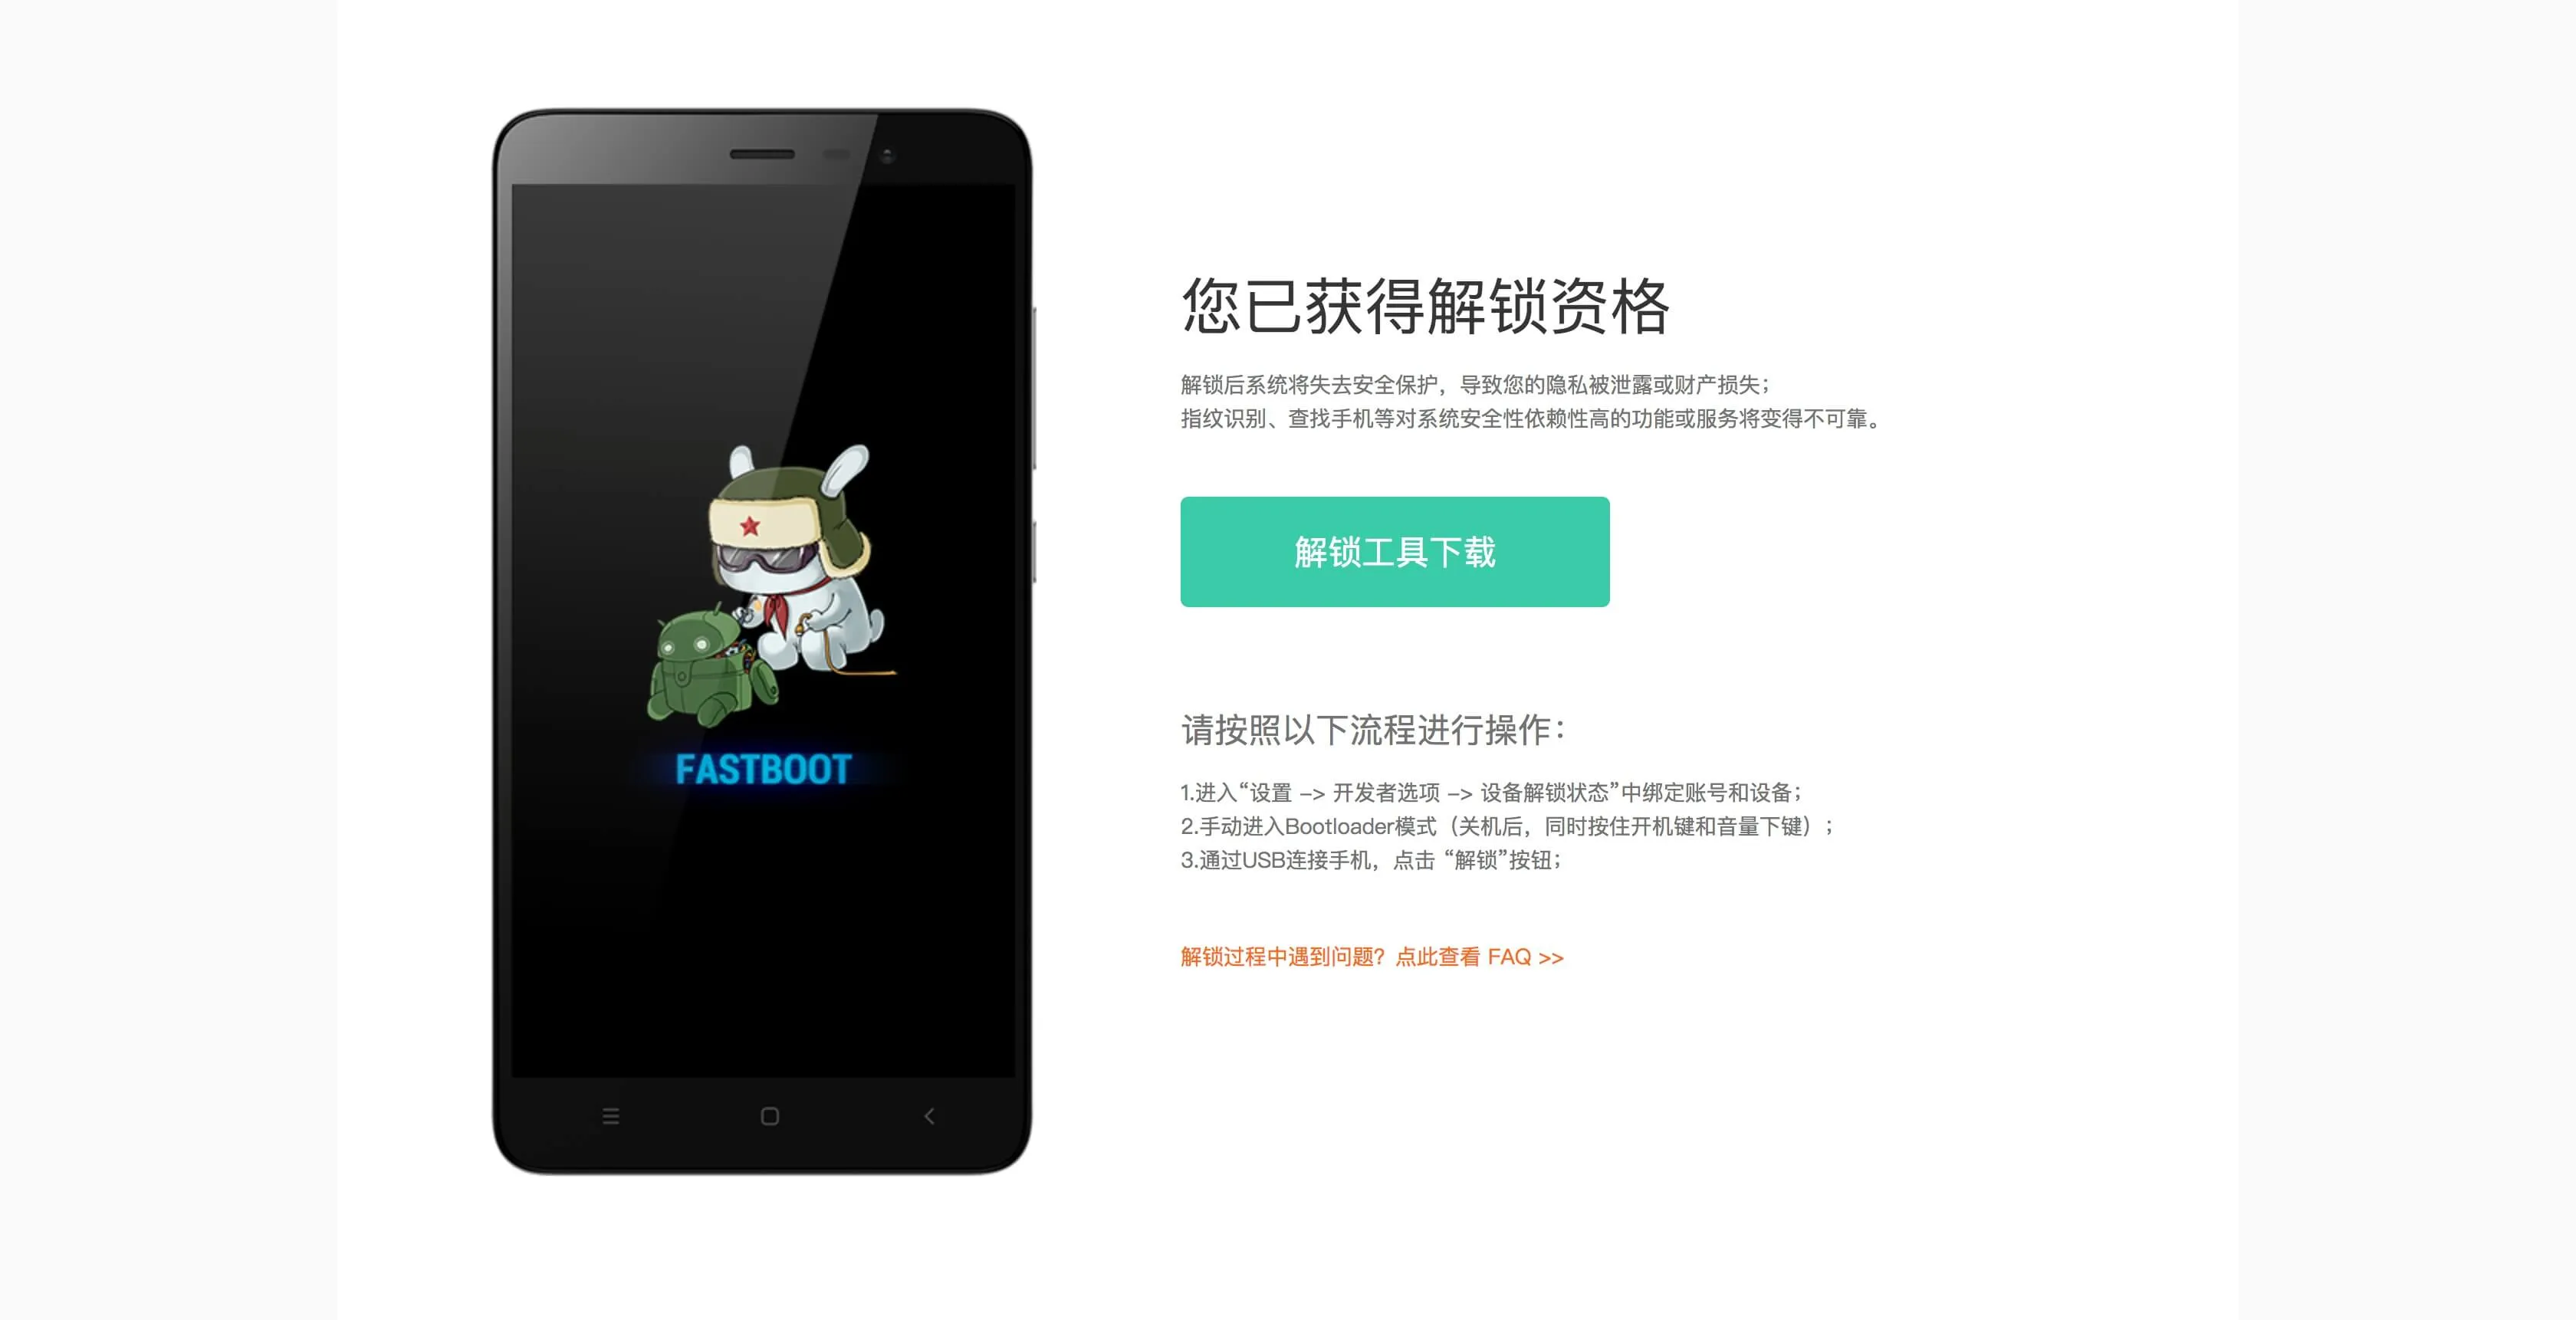
Xiaomi phones come with a locked bootloader, so you need to download the unlocking tool from the official website to unlock it.
Unlocking the bootloader is the first step to tinkering with everything, including flashing ROMs and rooting.
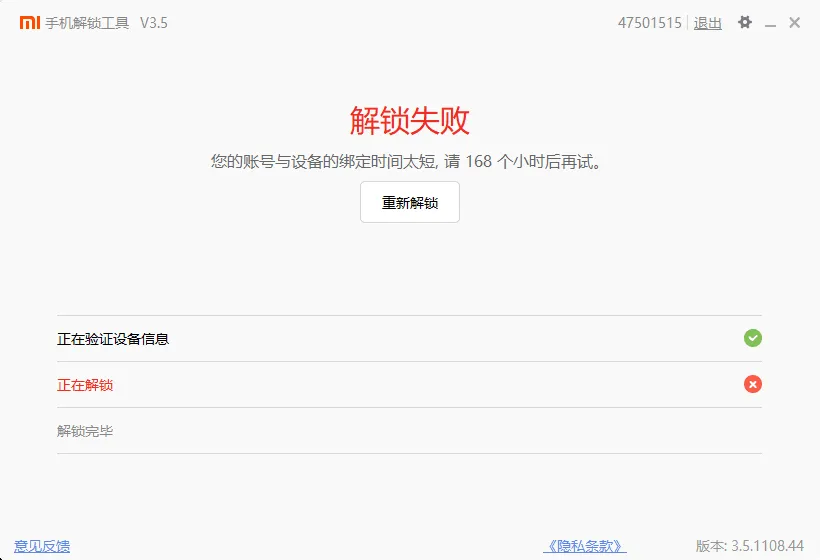
So, the first thing I did when I got the phone was excitedly connect it to my computer, download the unlocking tool, and run the unlocking program:
Game over.
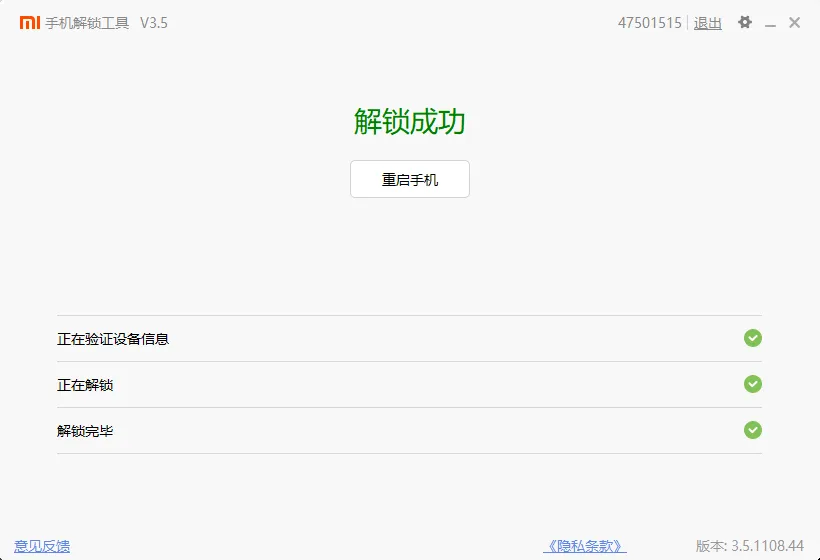
After 7 days:
Flashing TWRP#
Recovery is the Android system's recovery system, similar to Windows PE and macOS Recovery. It can be used for system upgrades and resetting the phone.
Flashing a third-party recovery like TWRP provides more functionality, such as rooting and flashing custom ROMs.
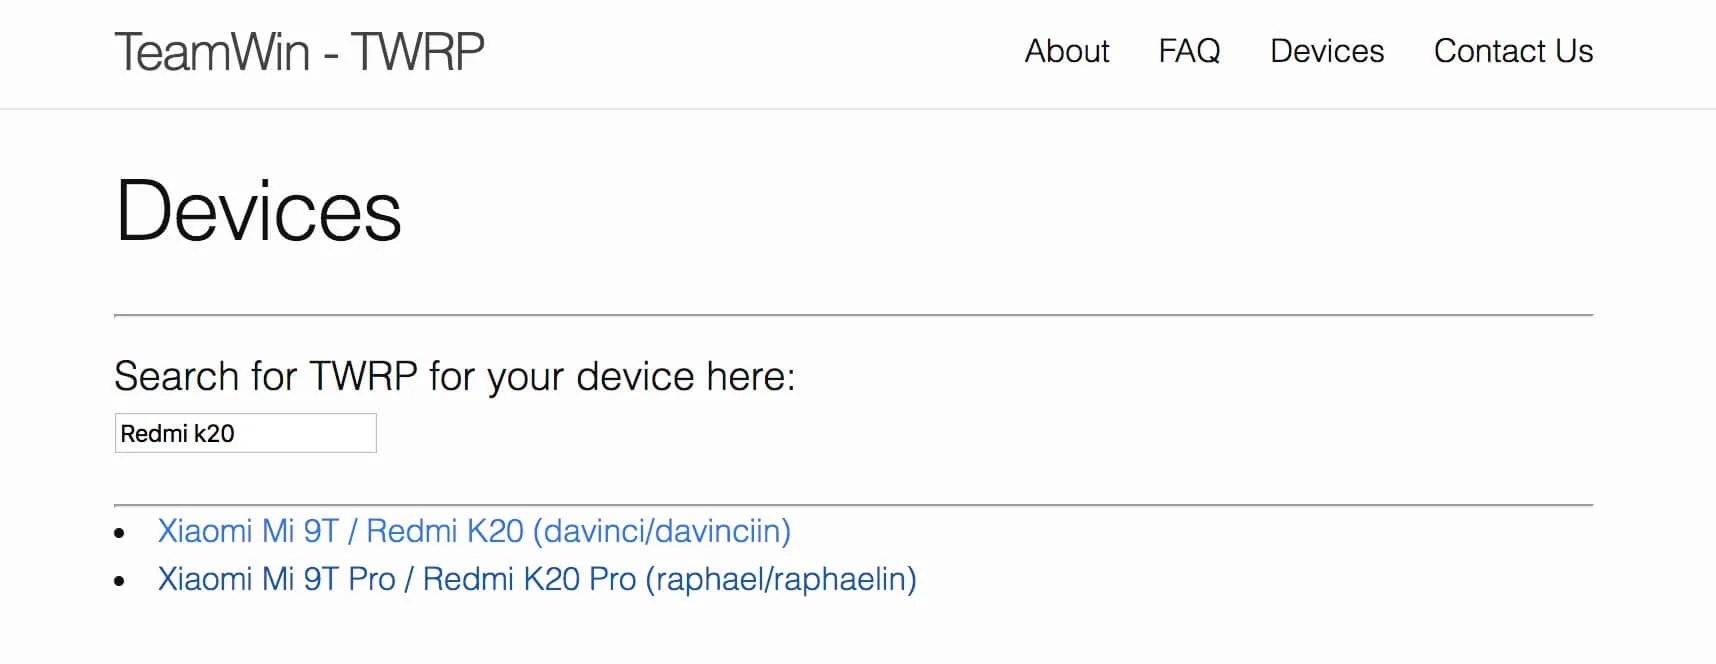
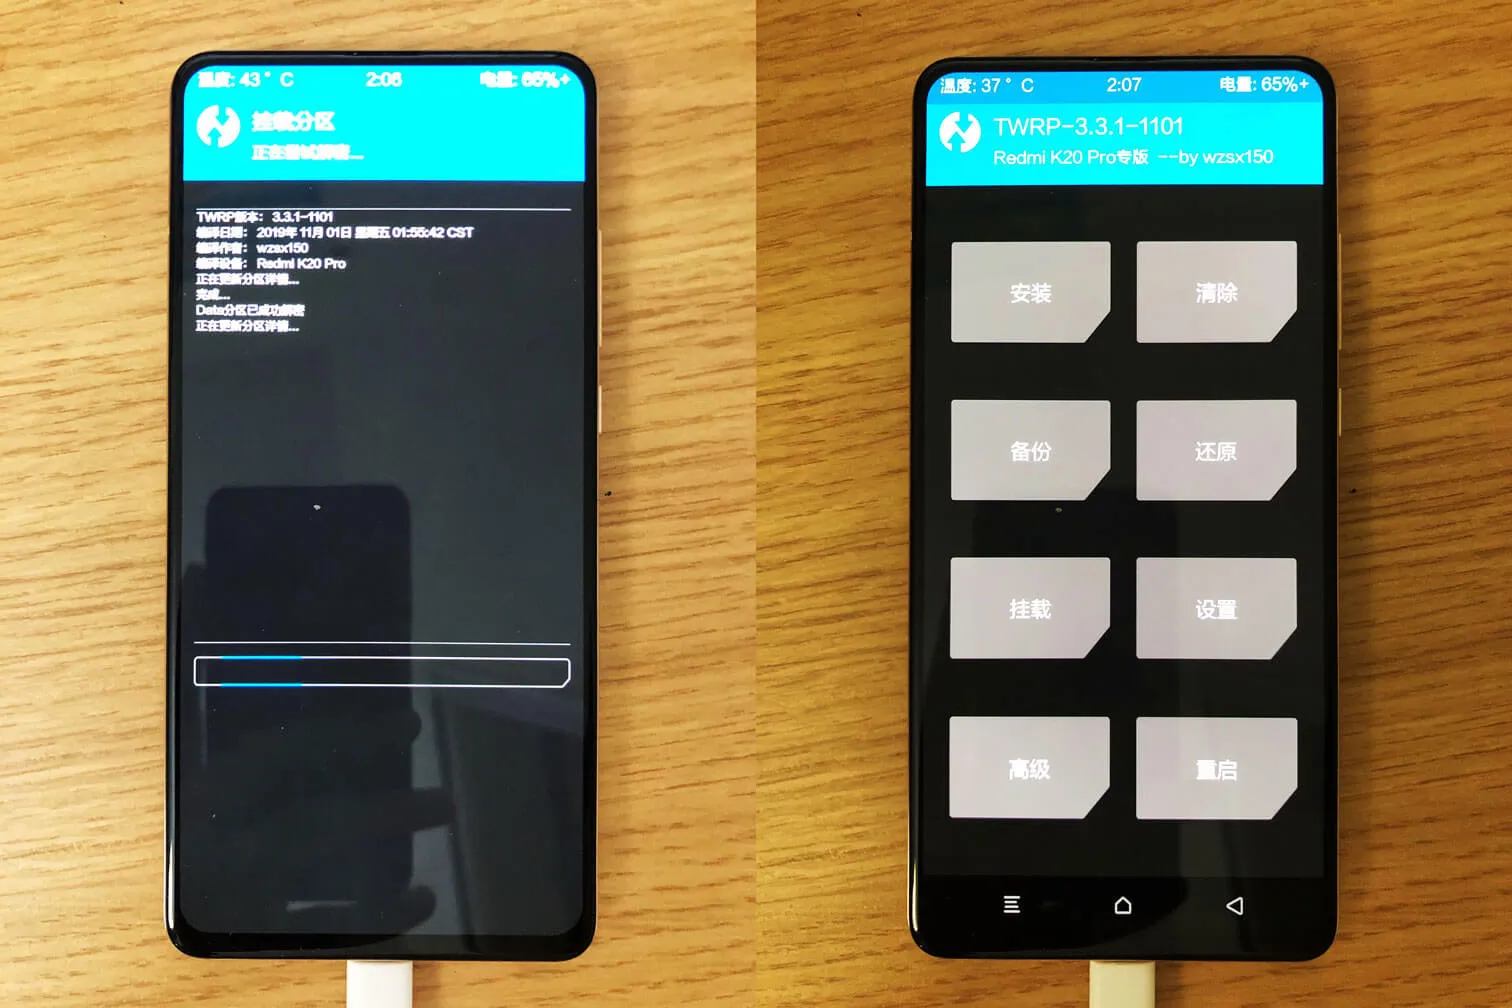
TWRP is a well-known open-source recovery image. Searching for "Redmi K20" on the TWRP official website shows that TWRP officially supports Redmi K20 Pro.
However, because this article was delayed for a long time, TWRP did not officially support Redmi K20 Pro when I flashed it. Instead, I used a TWRP image adapted by a developer named wzsx150 from China. The image can be found here.
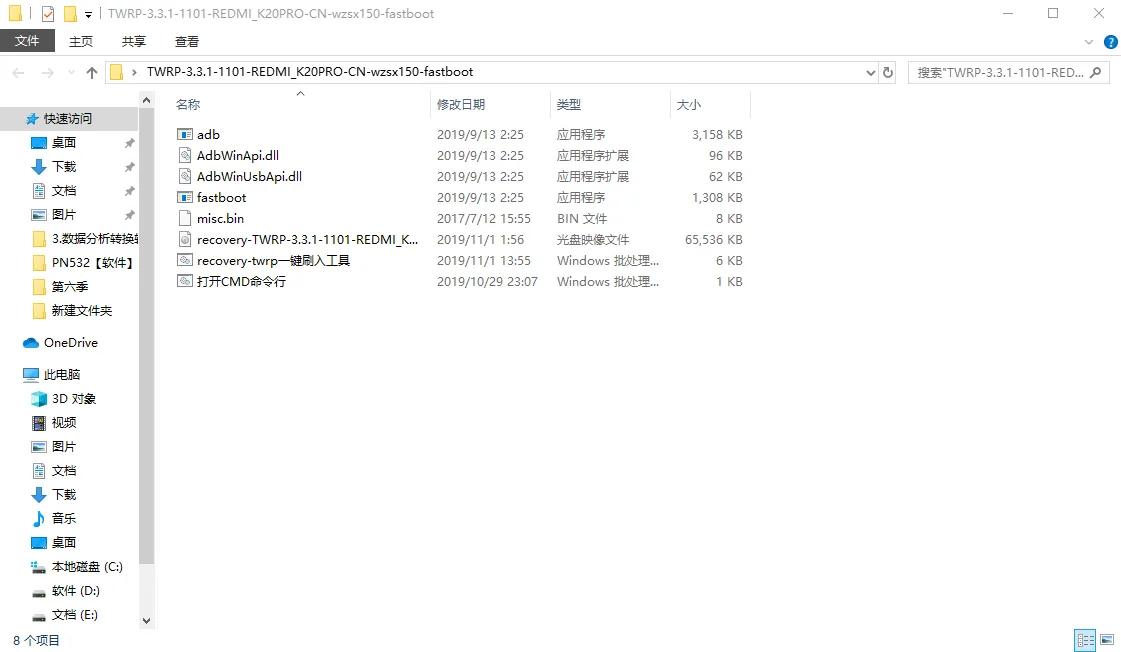
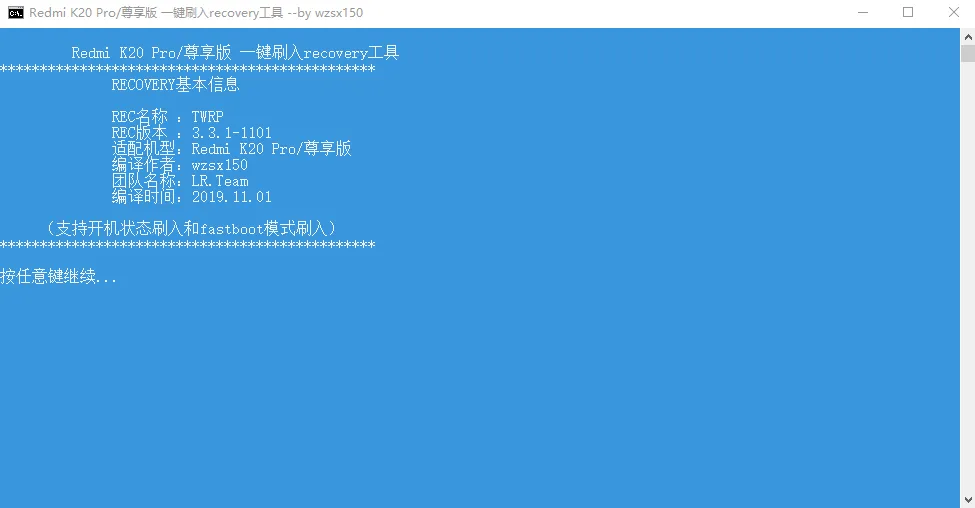
The wzsx150 team provided a very convenient one-click flashing tool. Open the "recovery-twrp 一键刷入工具" (recovery-twrp one-click flashing tool).
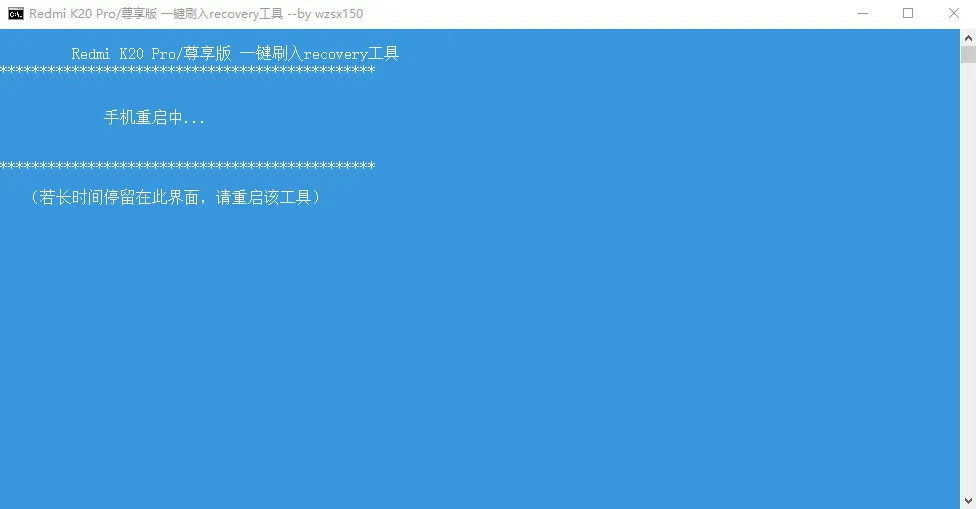
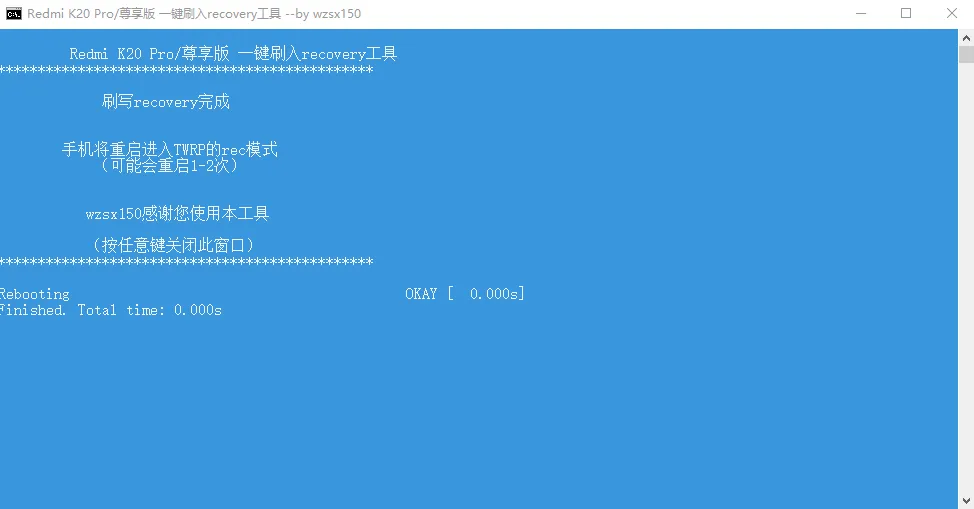
Follow the prompts and proceed.
During the process, the phone restarts once and automatically enters TWRP, indicating a successful flash.
Flashing Magisk#
Magisk is a versatile tool that combines stability and playability. As a root solution, it can achieve seamless OTA updates without breaking the system. As a plugin extension platform, it provides a wide range of custom modules to meet various customization needs.
For more information, refer to this article: SPAI - The Must-Have Tool for Every Android Player
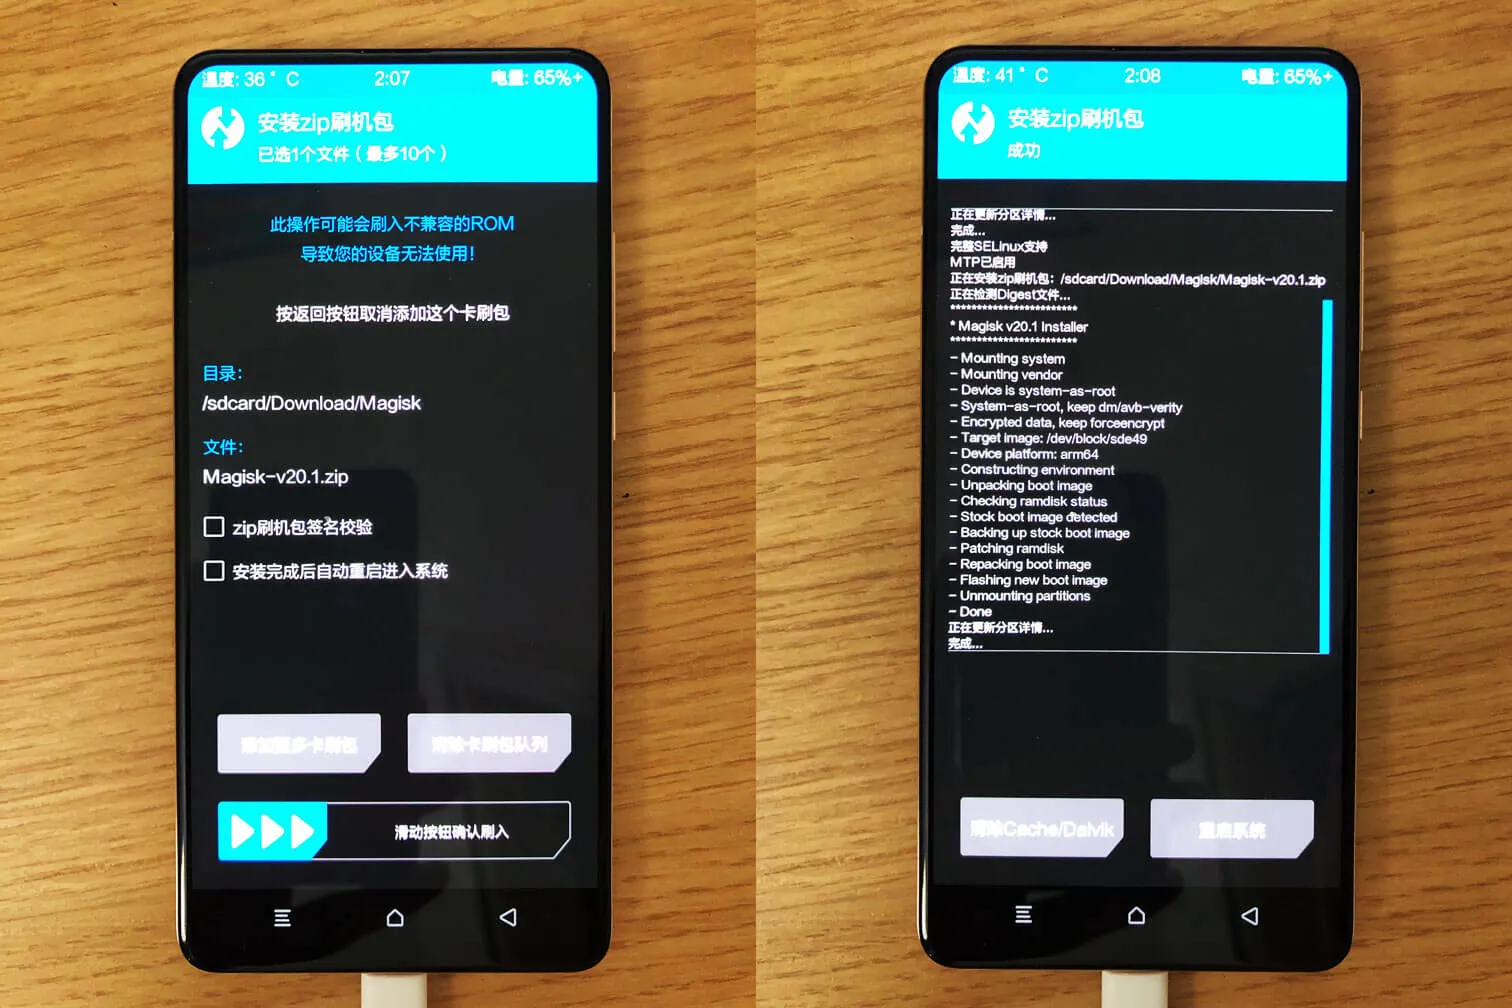
Magisk is also an open-source project. Download the latest version of Magisk installation package from GitHub, import it into your phone, and then click the "Install" button in TWRP to find the Magisk installation package and flash it.
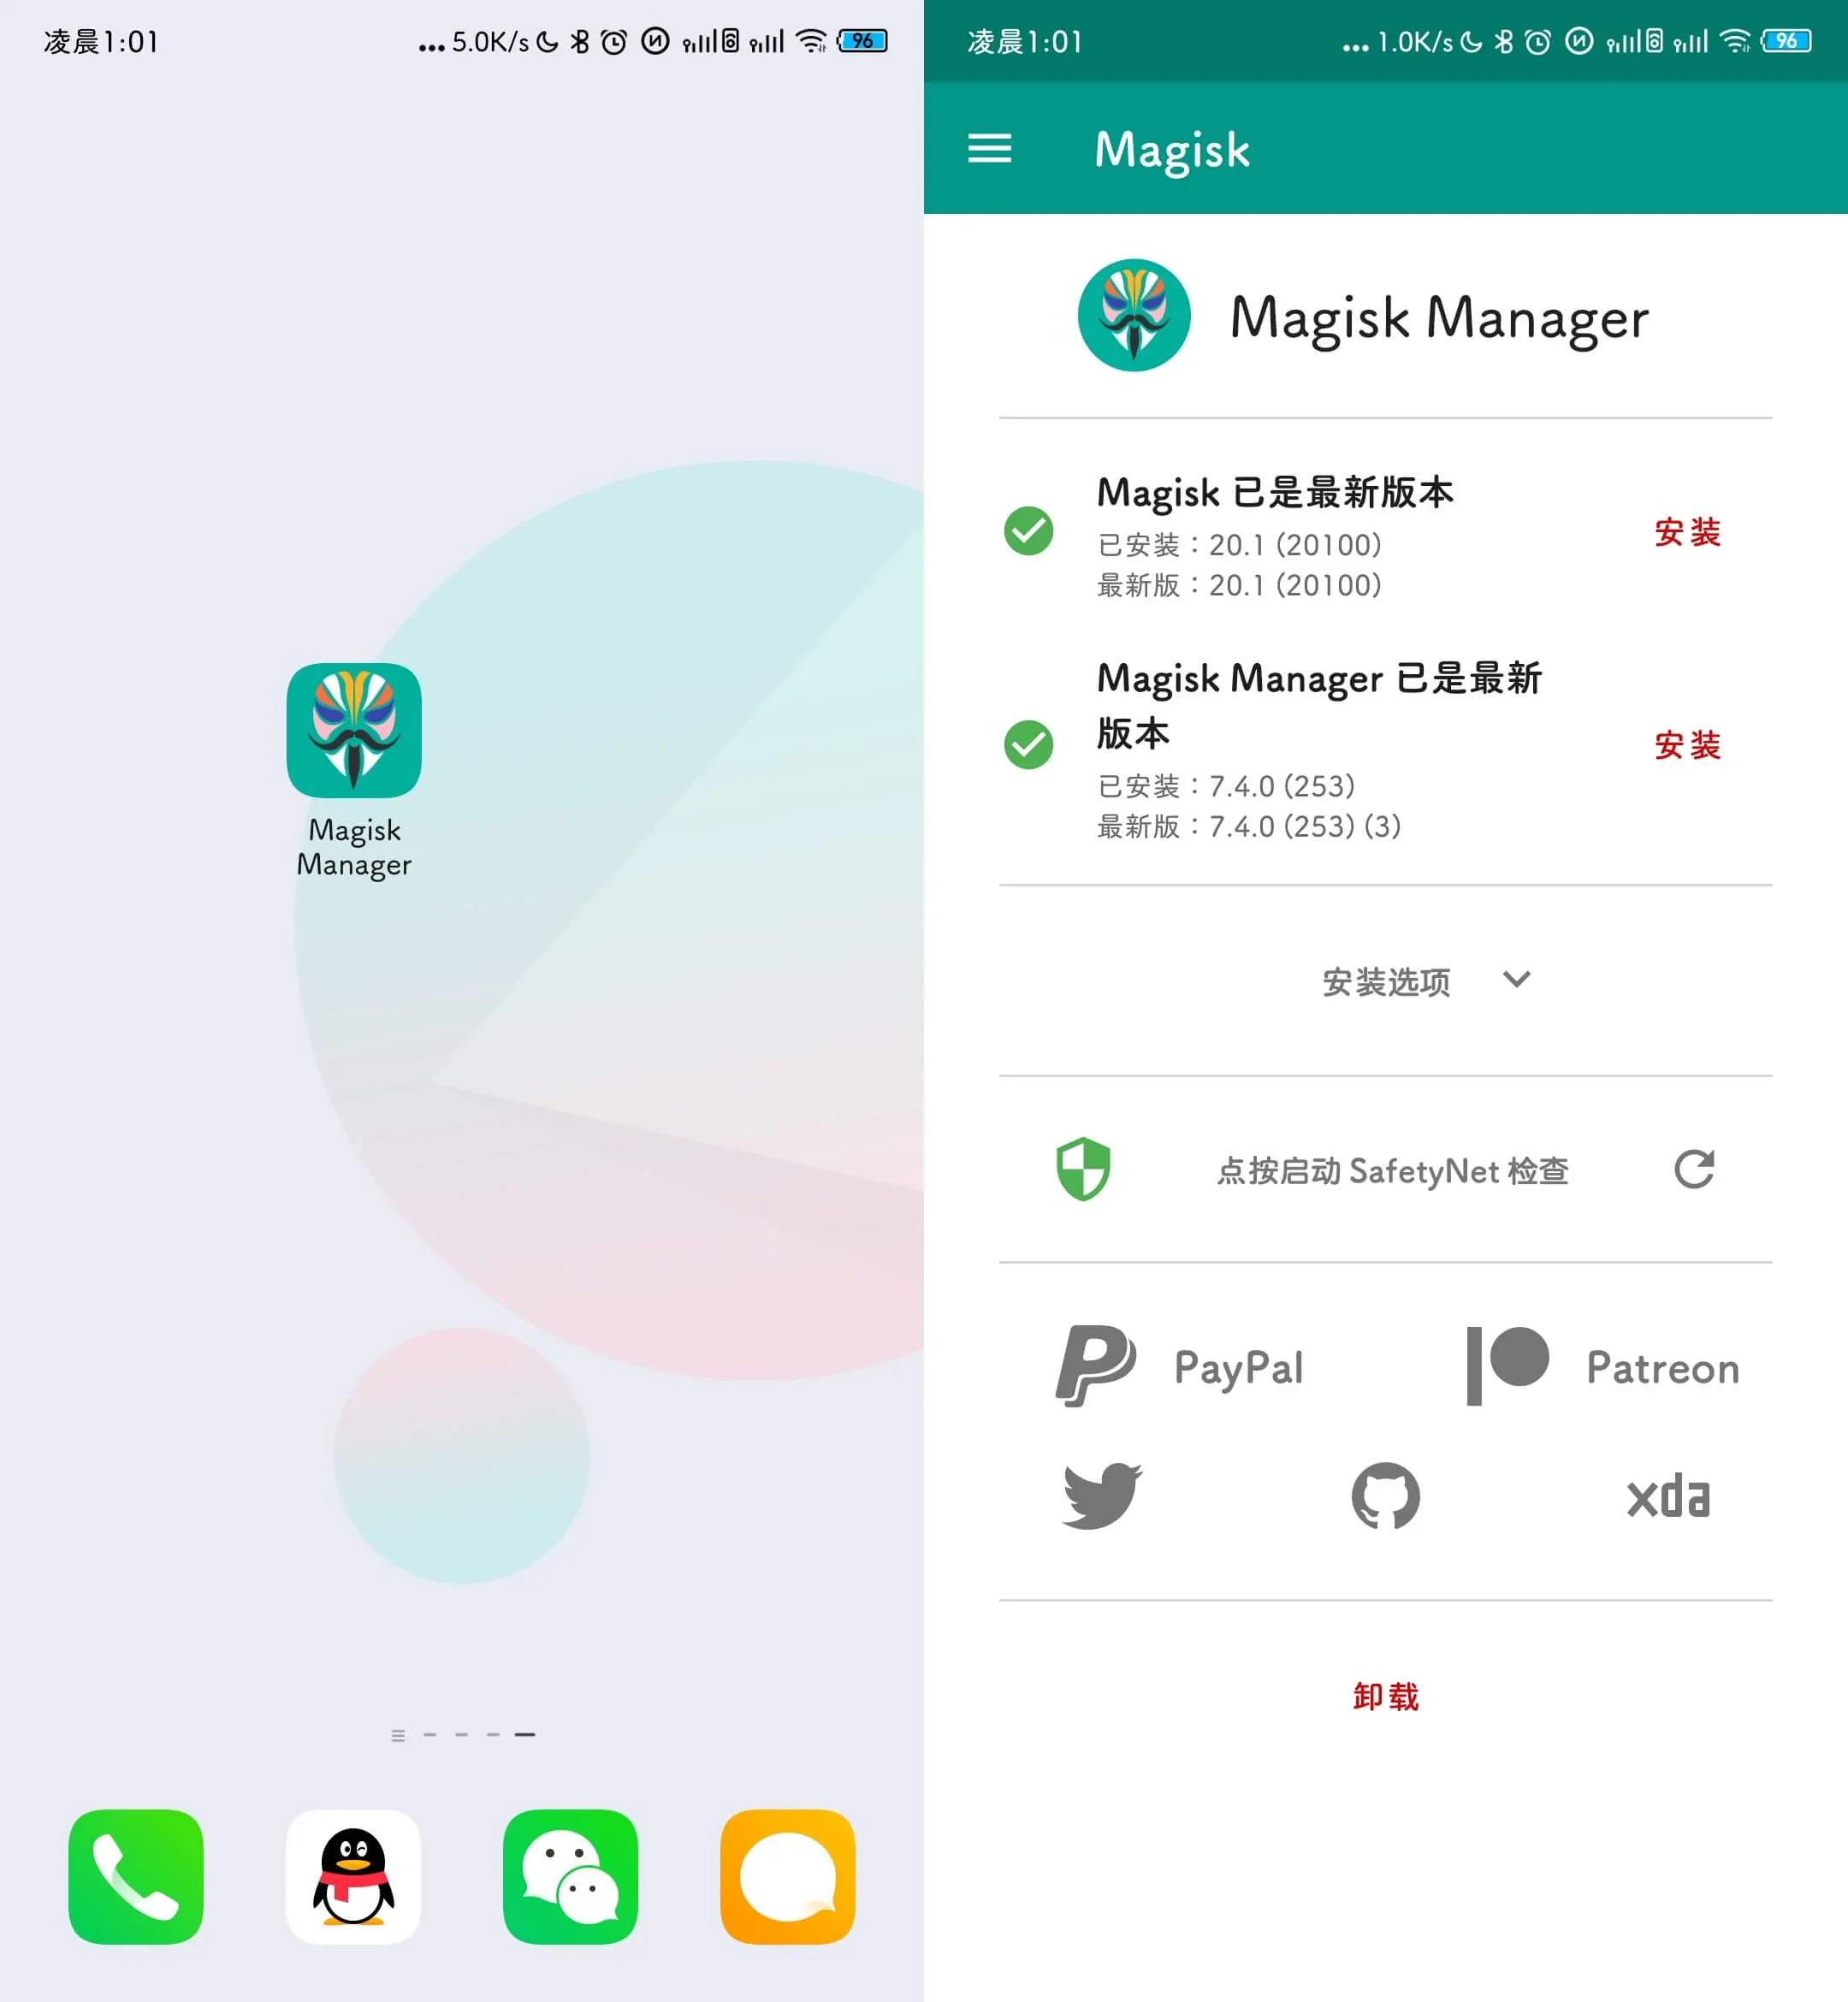
After rebooting the system, you will find a "Magisk Manager" on the home screen, indicating a successful flash.
Magisk#
After all the preparations, I can finally install Magisk modules. There are many Magisk modules available, and there is a lot of information online. Here, I will only introduce a few modules that I use.
筑紫 A 丸 (Chikushiga Maru): This module replaces the system font globally with a cute font called 筑紫 A 丸ゴシック. The effect is as shown in the picture. You can find the introduction and download here.
Google Lens Enabler: This module tricks Google Photos into thinking that the device is a Pixel device, enabling the Google Lens feature. It also has an important additional effect: it gives Google Photos unlimited storage.
Riru - Core: Riru is a series of modules, and all Riru modules require Riru - Core to be installed first.
Riru - Storage Redirect: Almost all Android apps store information on our phones. To manage this, Android provides the /data
and sdcard/Android/data
directories for app data storage. Unfortunately, many app developers do not follow this convention, resulting in a messy and inefficient file management system on our phones. Using Storage Redirect can solve this problem by redirecting scattered app private folders to a specified location. You can find the official introduction and documentation here.
Tai Chi: Tai Chi is a module. See the next section for more details.
Tai Chi#
To introduce Tai Chi, we need to start with the Xposed Framework.
Many people have heard of Xposed. It allows for various modifications to the system and apps by manipulating the system framework, resulting in countless possibilities. It greatly enhances the playability of the Android system and has more modules than Magisk.
However, the Xposed Framework does not update as quickly as Android system versions. The latest version is only available for Android 8.0/8.1 beta3. For Android 9.0/10.0 users, they can only choose third-party implementations. The two commonly used solutions are Tai Chi and Edxposed.
I initially installed Edxposed, but it seems to have compatibility issues with MIUI 11 and cannot be used. So, I switched to Tai Chi.
Here are a few modules I use:
大圣净化 (Dasheng Purification) and 去你大爷的内置浏览器 (Get Rid of the Built-in Browser) are very useful.
Google Camera#
Redmi K20 Pro supports Camera2 API, so you can install Google Camera without any additional hassle.
Chinese developer 阿狗酱 has shared a Google Camera specifically tuned for Redmi K20 Pro.
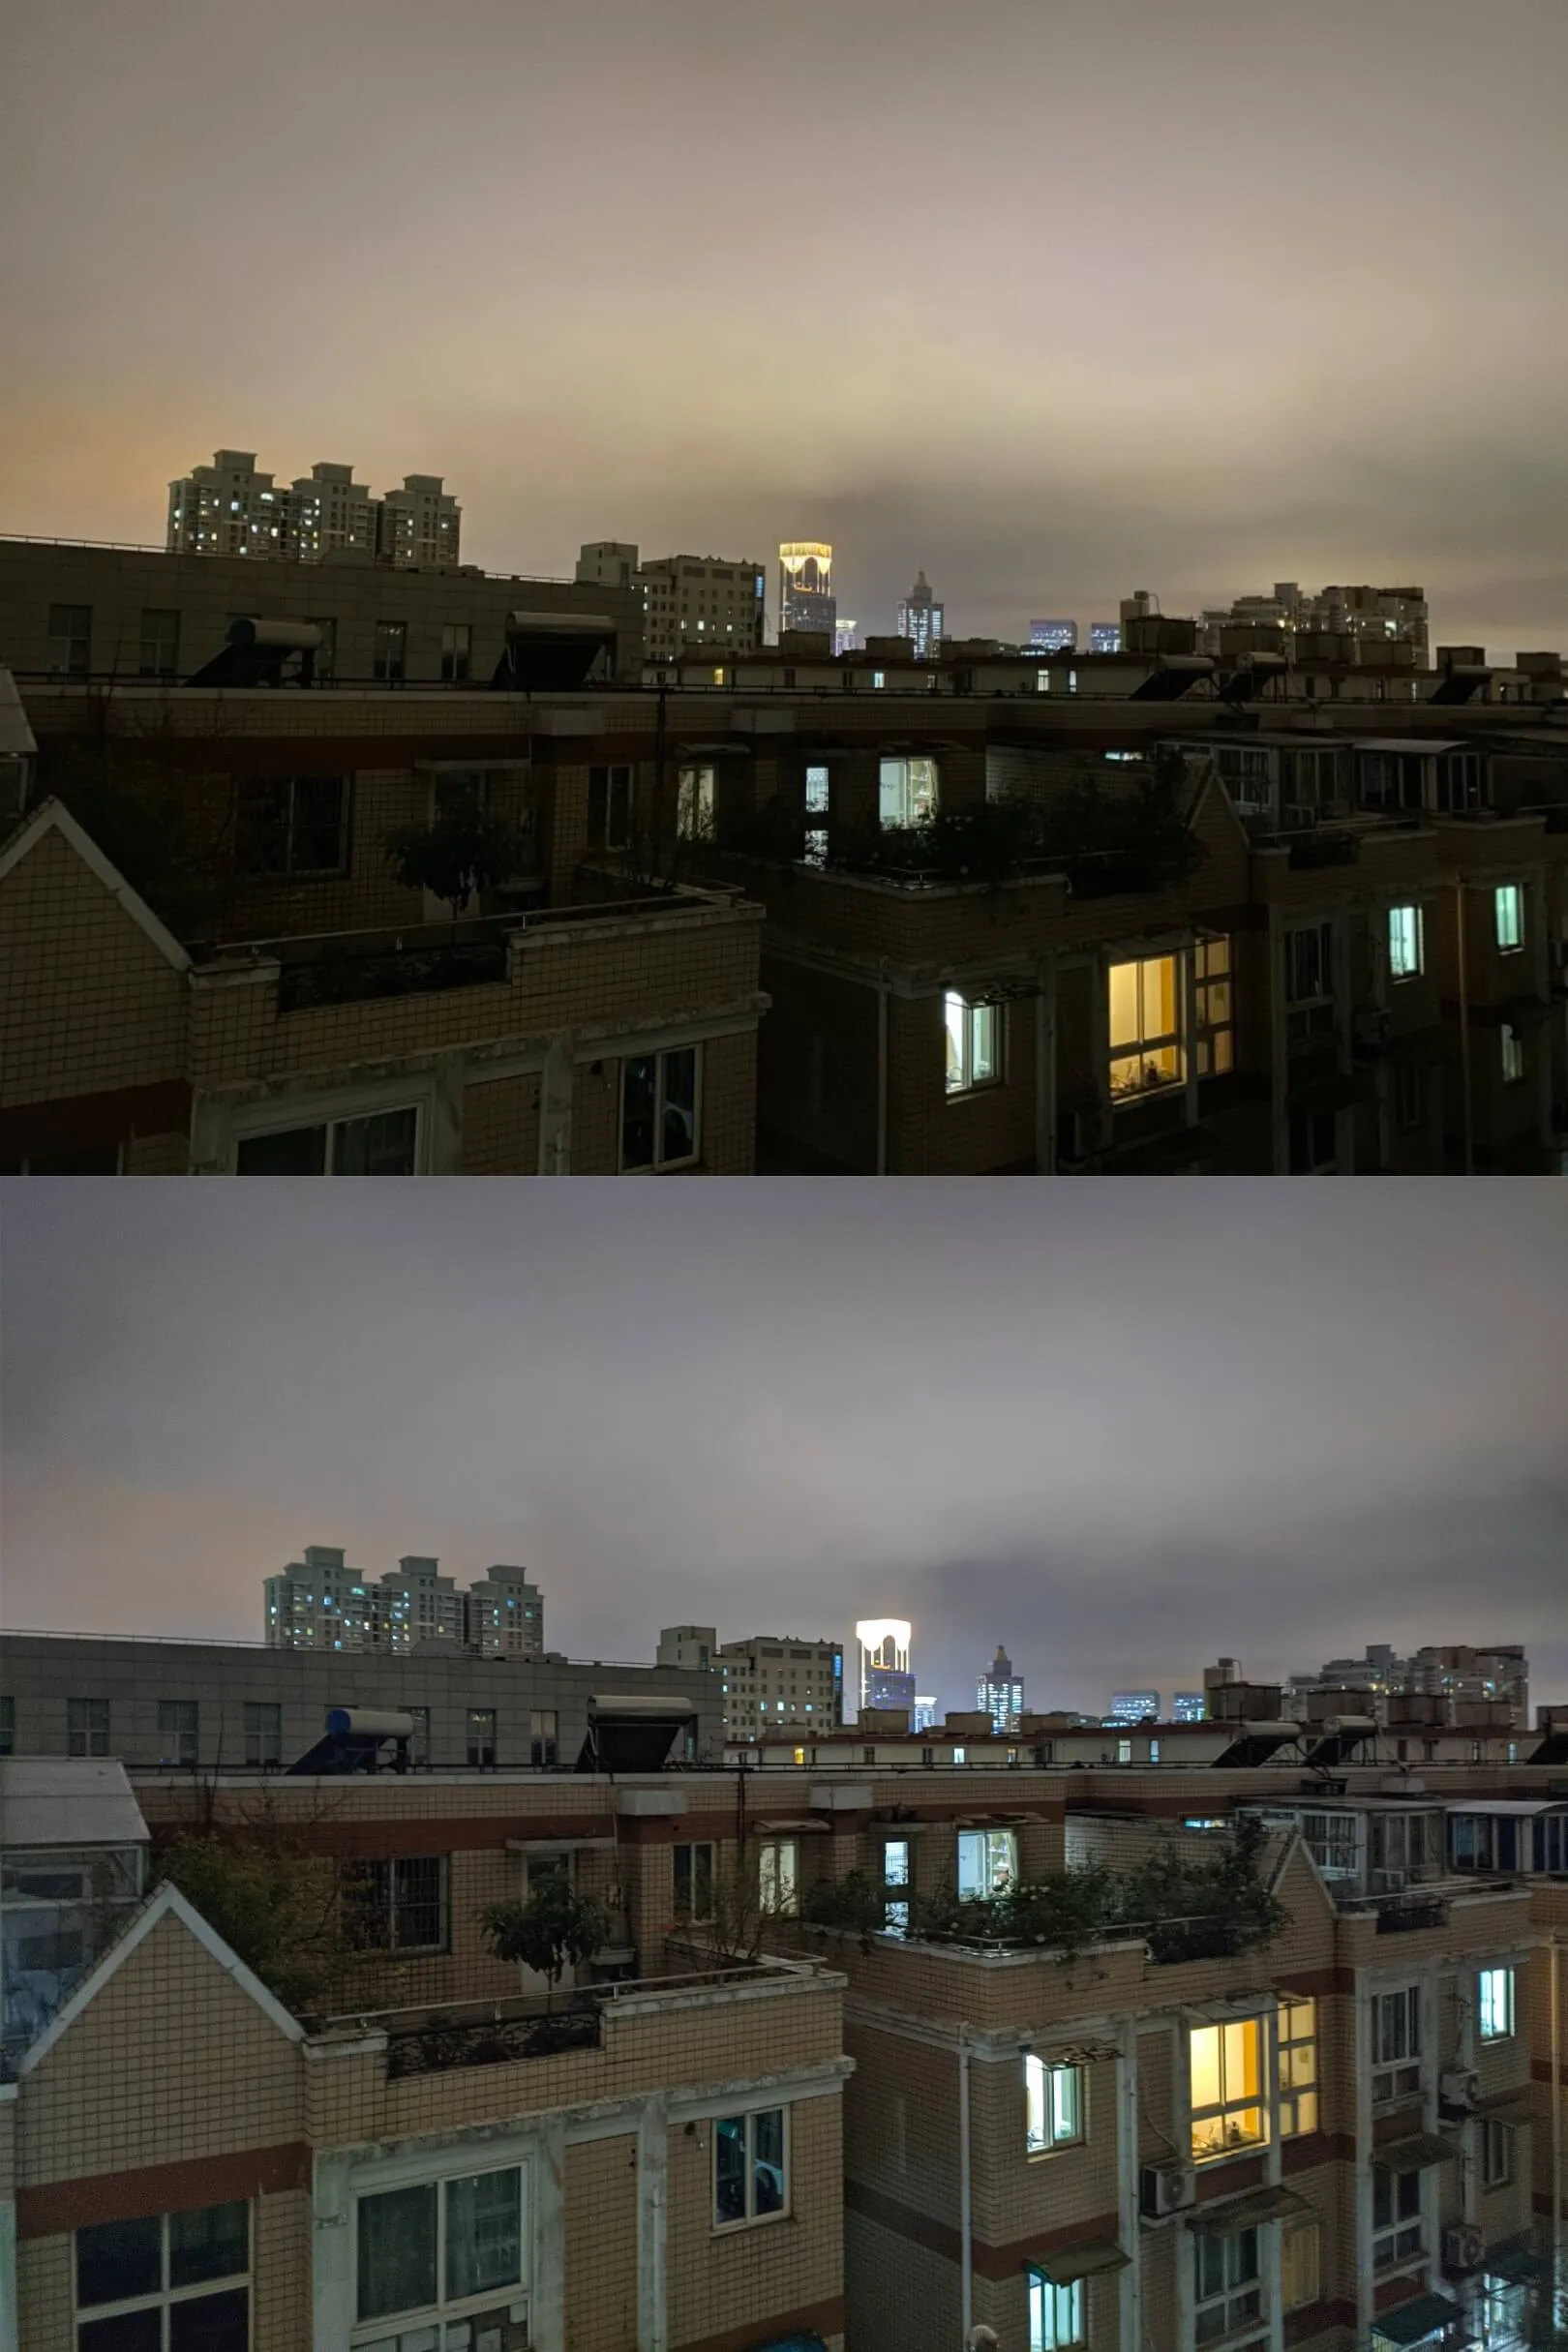
Thanks to the HDR+ algorithm, the improvement is very noticeable. Google is truly amazing.
MIUI Stock Camera vs. Google Camera
iPhone 11 Stock Camera vs. Google Camera
In conclusion, there are indeed many cool features on Android, but the overall refinement, design, user-friendliness, and software ecosystem still have a significant gap compared to iOS. It took me over a week to slowly adapt and start to accept it. If it weren't for the fact that I couldn't return the phone after opening the package on Pinduoduo, I might have switched back to iPhone the next day.
But once you accept this setup, it's great.