Introduction#
If you're curious about whether working at Bilibili is interesting, or what I've been doing since I joined, this article might answer some of your questions.
Since coming to Bilibili, aside from being responsible for some modules of the HTML5 player, restructuring, and daily maintenance, the BAS advanced bullet screen has been the largest project I've been responsible for developing over the past six months.
This article is compiled from today's ultra-electromagnetic wave sharing at the company (reportedly, I am the youngest lecturer in history (=・ω・=), and it serves as a summary of this project's current phase.
What is BAS Bullet Screen#
BAS, short for Bilibili Animation Script, is the next generation of Bilibili's advanced bullet screen scripting language, used to describe advanced bullet screen styles, interactions, and animations.
BAS bullet screens are advanced bullet screens described by BAS, consisting of elements and animations. The elements are divided into text objects, interactive buttons, and path objects, while animations are categorized into simple animations, sequential animations, and parallel animations.
BAS bullet screens are primarily aimed at advanced users like subtitle creators and can be used in scenarios such as subtitles, special effects, interactive applications, games, and pure bullet screen works.
Currently, the web version has been launched, and the mobile version is basically completed, with hopes to be used in next year's events or New Year celebrations.
We created several videos to visually demonstrate BAS bullet screens:
The first is a bullet screen PV made by Mao Jiang: https://www.bilibili.com/video/av257649/
The second is a rotten apple realized by bullet screens: https://www.bilibili.com/video/av18682336/
The third is a demonstration of interactive buttons: https://www.bilibili.com/video/av16558829/index_3.html#page=3, and applications like the Bilibili Ranking Weekly are also great scenarios.
In terms of subtitle applications, it is easy to implement a tool to convert subtitle files to BAS, and we will continue to do such things in the future.
Comparison of Several Advanced Bullet Screens#
mode7#
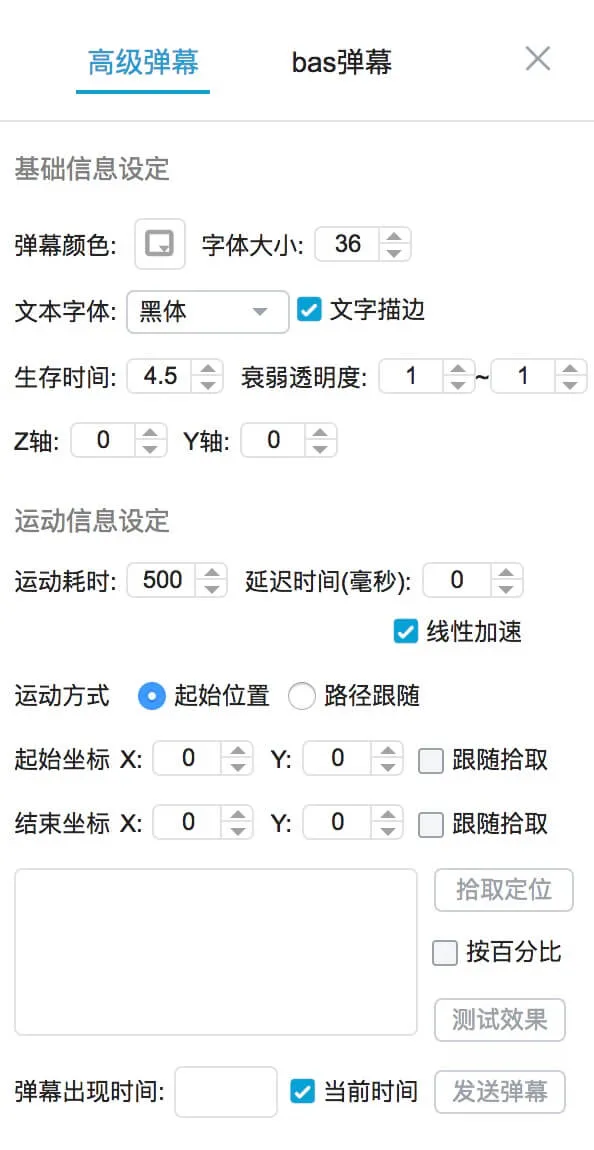
Bullet screens are set through the interface, requiring no code writing, simple to use but with limited functionality.
mode8#
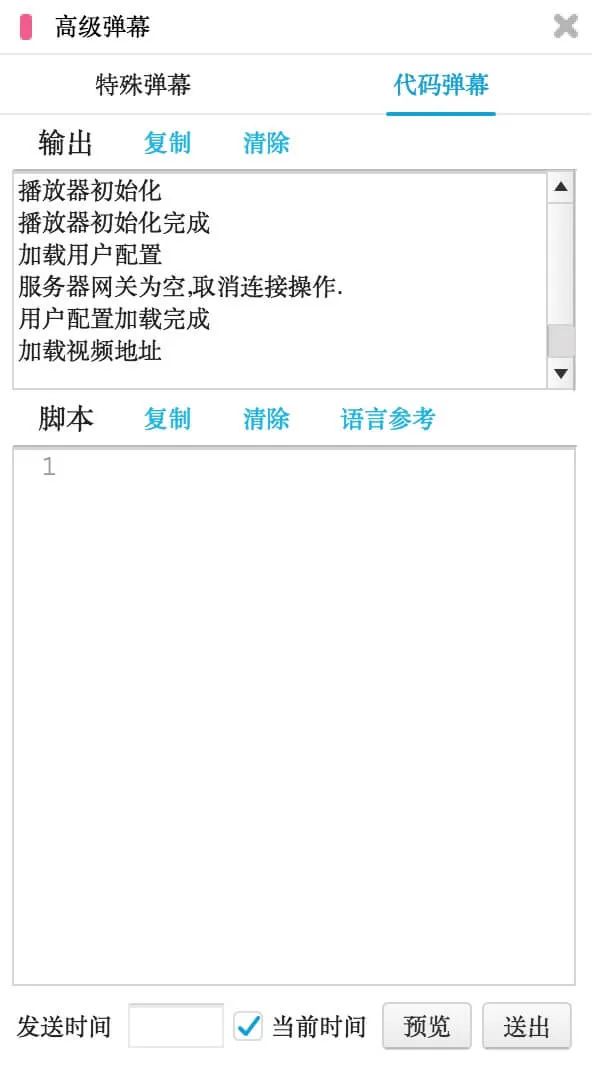
This is code bullet screens, which are very powerful but require code writing, complex to use, less secure, and only support the Flash platform.
mode9#
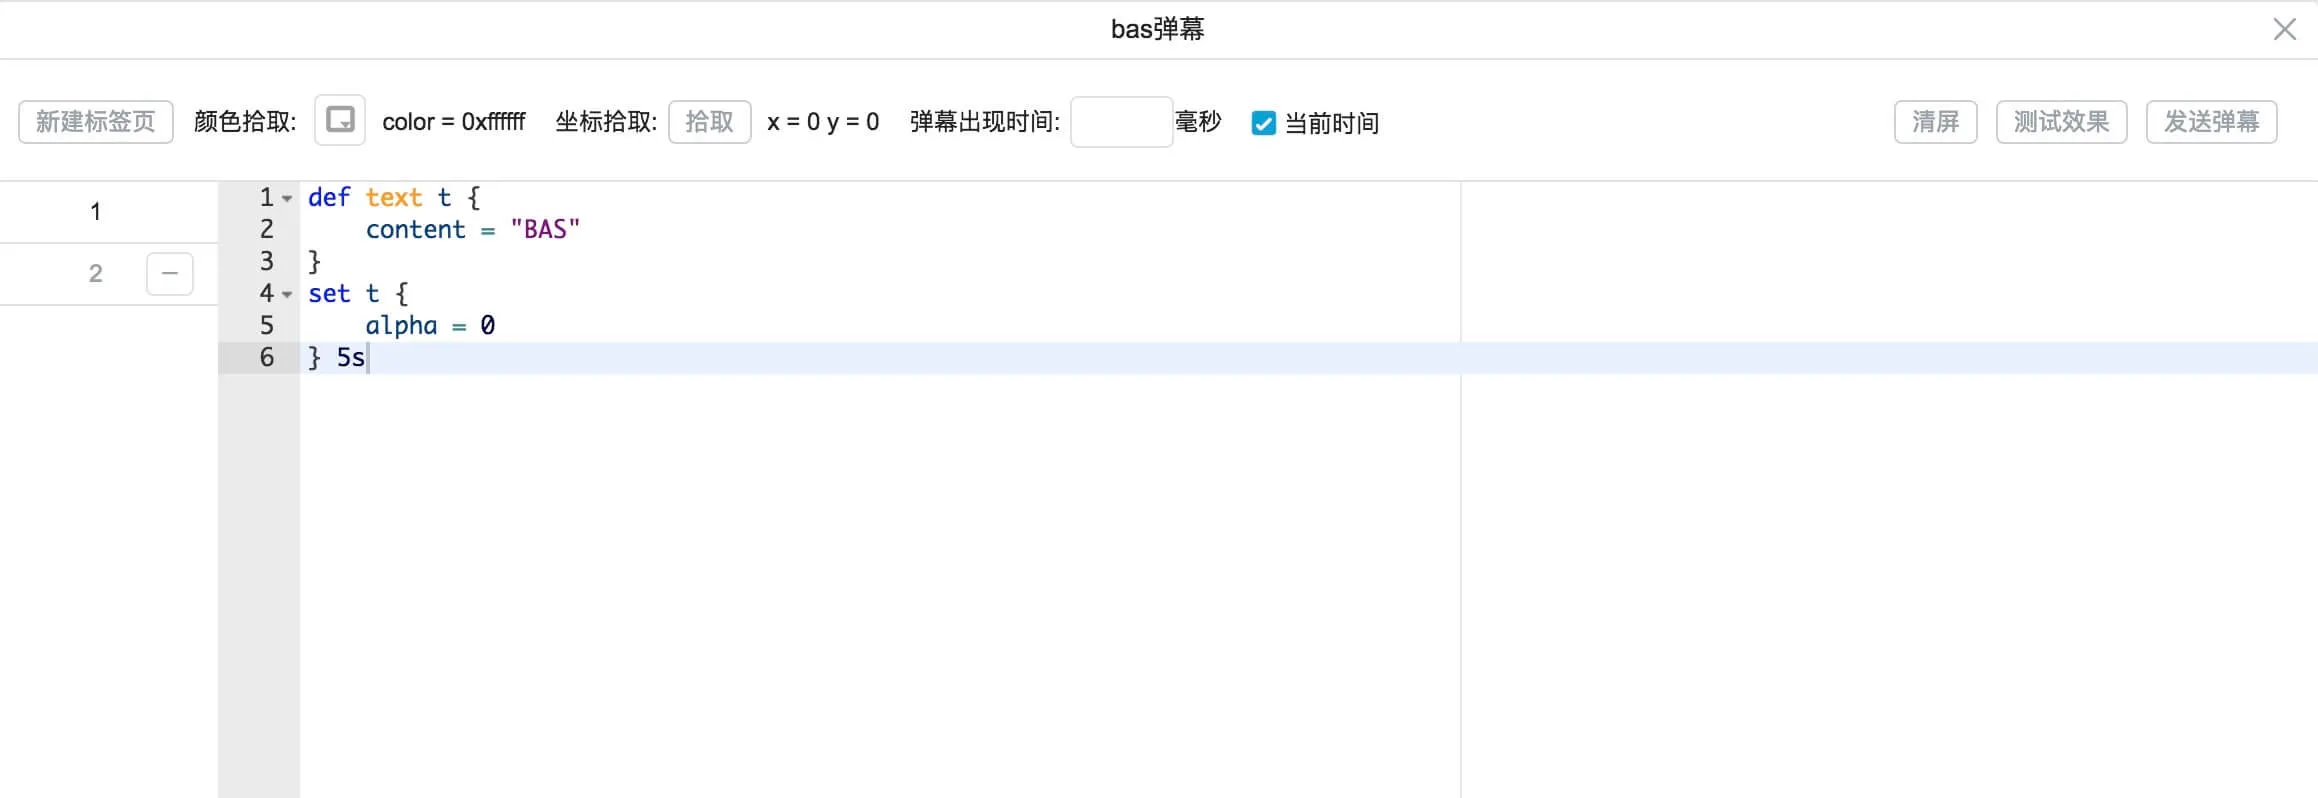
This is BAS bullet screens, a compromise between mode 7 and mode 8.
Compared to mode 7, mode 9 requires script writing, is slightly more complex, but supports interactions, graphics, and more complex animations, making it much more powerful.
Compared to mode 8, mode 9 simplifies the syntax, using a declarative approach, making it easier to use; it is safer, with the player parsing the implementation, and illegal scripts will not be allowed, making the program controllable rather than directly manipulating the bullet screen; it can be cross-platform.
Using BAS Bullet Screens#
Sending Permissions#
First, there are strict restrictions on the sending permissions for BAS bullet screens. Generally, users need to purchase with coins first and then wait for the UP master to confirm before they can use it. Users with special permissions, like subtitle creators, can use it directly, but currently, it is only open for subtitle creators to use, and after they use and improve it, we will consider expanding the usage scenarios.
Coin Purchase | UP Master Confirmation | |
---|---|---|
General Member | √ | √ |
UP Master | √ | × |
VIP | × | √ |
Subtitle Creator/Admin | × | × |
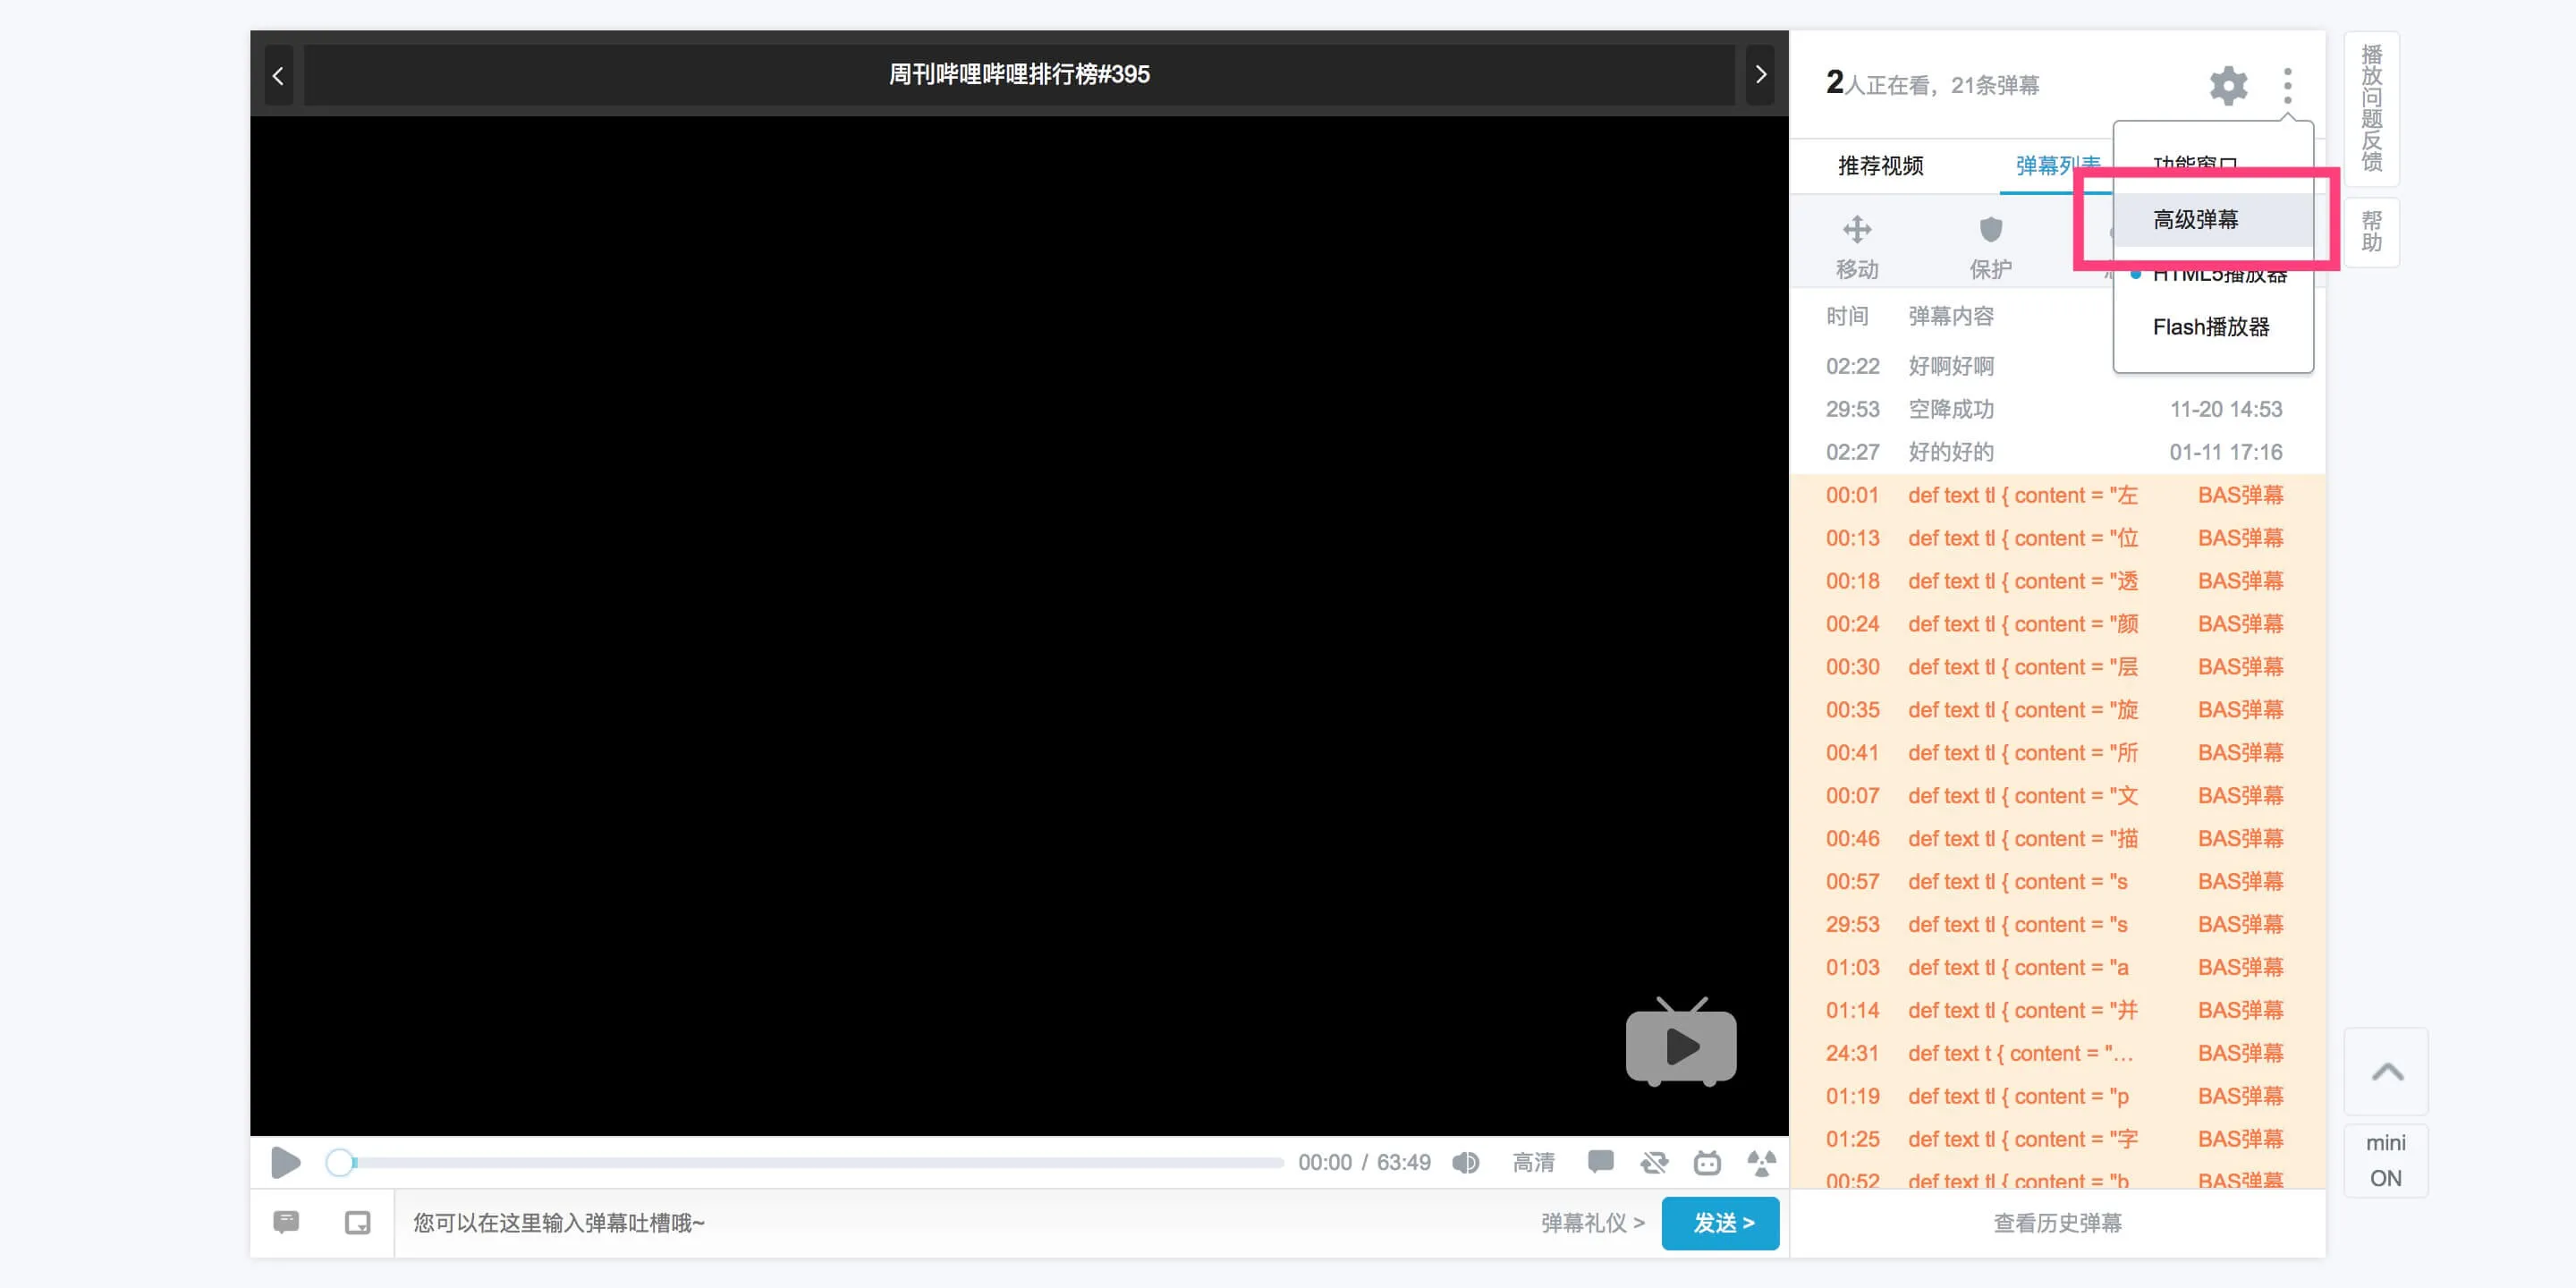
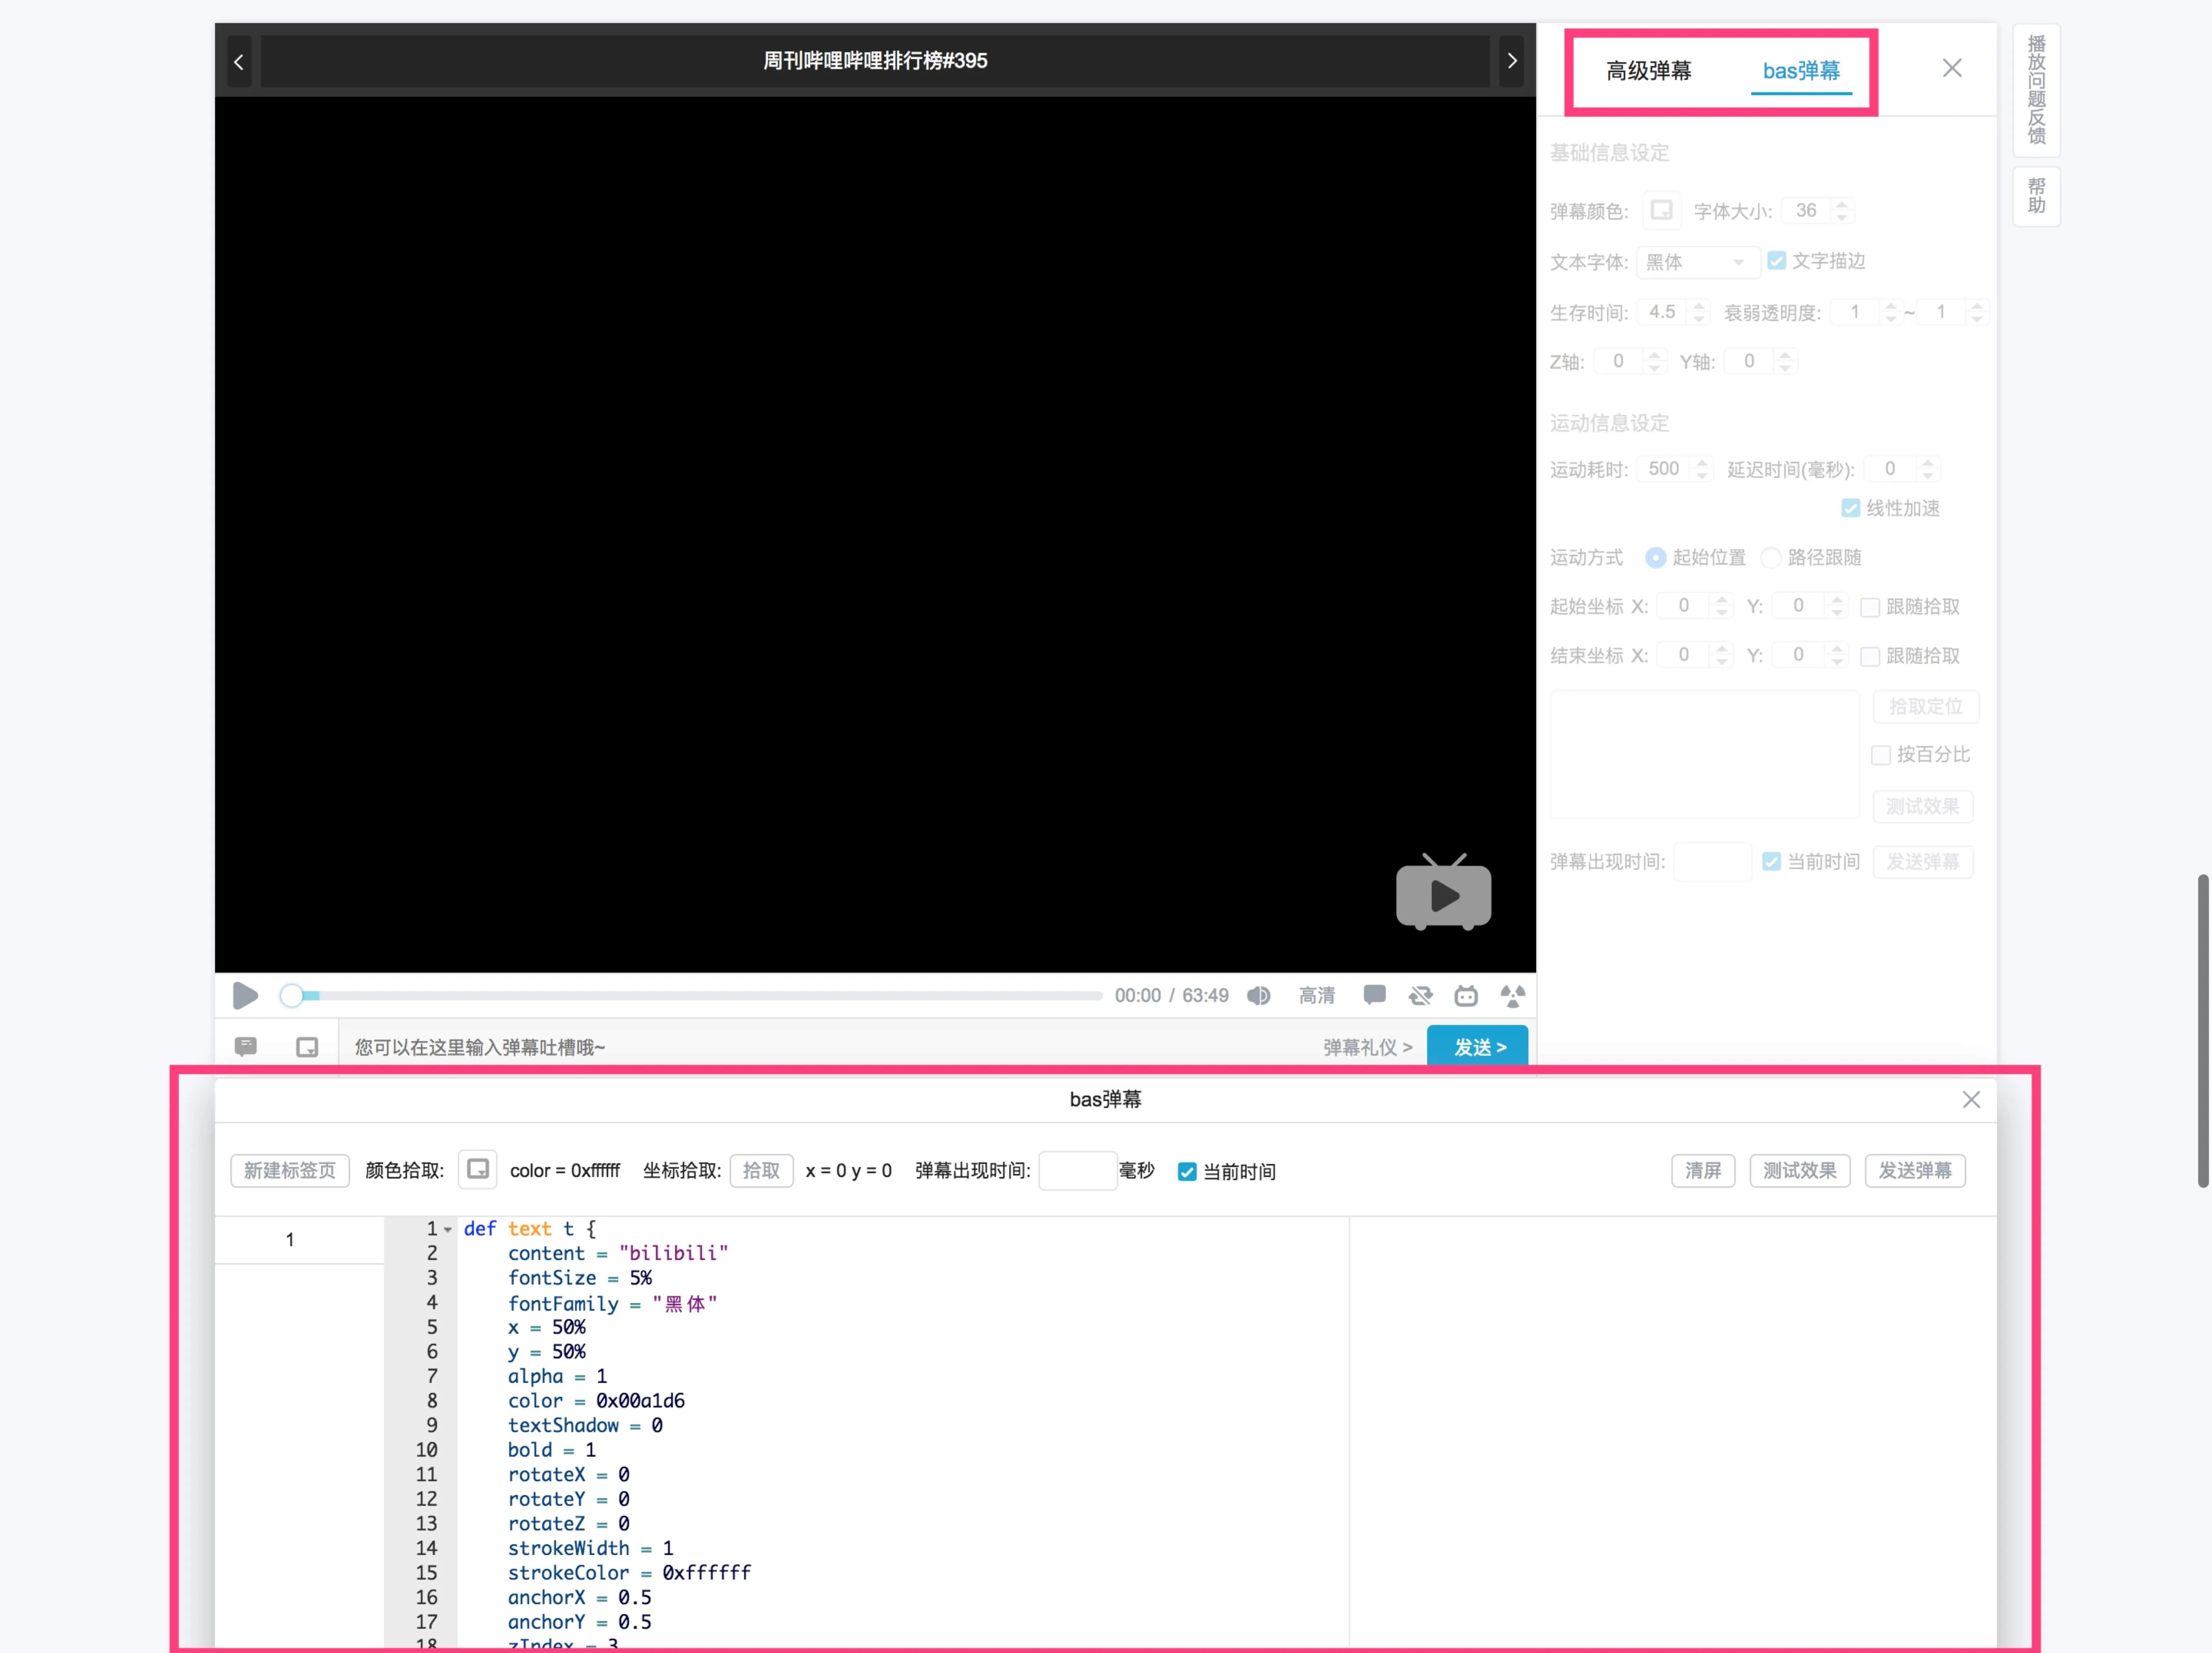
Sending Entry#
Note that when there is no sending permission, the entry is hidden. At this time, you can try it in the laboratory.
Writing Scripts#
Next, let's try writing some simple scripts. BAS scripts are very simple; they are a declarative descriptive script, with easy-to-use syntax that ensures the independence of object blocks and operation blocks.
The simplest way to try BAS bullet screens is to use the examples and laboratory on the documentation. You can open it in a new tab in your browser and follow the examples to try some basic usages.
Taking a text object as an example, a simple text object with a fade-out animation looks like this:
def text demo {
content = "BAS"
}
set demo {
alpha = 0
} 5s
This way, we have successfully created a fading BAS bullet screen. It looks simple, but a lot of work is done behind the scenes by JavaScript. JavaScript first parses the BAS script into objects recognizable by JavaScript, applies default properties, and then renders it in the player while starting the animation. At this point, you can see a fading white text in the upper left corner of the player.
Positioning#
Positioning is also very simple. The positioning of BAS bullet screens is determined by the bullet screen anchor points (anchorX anchorY) and stage positions (x y). The anchor point is the center point of the bullet screen, with (0, 0) being the top left corner and (1, 1) being the bottom right corner.
def text tl {
content = "Top Left"
x = 0
y = 0
anchorX = 0
anchorY = 0
}
def text tr {
content = "Top Right"
x = 100%
y = 0
anchorX = 1
anchorY = 0
}
def text bl {
content = "Bottom Left"
x = 0
y = 100%
anchorX = 0
anchorY = 1
}
def text br {
content = "Bottom Right"
x = 100%
y = 100%
anchorX = 1
anchorY = 1
}
def text c {
content = "Center"
x = 50%
y = 50%
anchorX = 0.5
anchorY = 0.5
}
Bullet Screen Stage#
The bullet screen stage is the drawing area for the bullet screen, which defaults to the actual area of the video. Additionally, text objects can specify other text objects as parent elements through the parent property, using the parent element as the stage for drawing. The parent element will affect the positioning, scaling, etc., of the child elements.
def text a {
content = "□"
fontSize = 40%
x = 0
y = 0
color = 0xffff00
}
def text b {
parent = "a"
content = "□"
fontSize = 20%
x = 0
y = 0
color = 0xff00ff
}
set a {
x = 50%
y = 0
} 2s
then set a {} 3s
set b {
y = 50%
} 3s
then set b {} 3s
Lifecycle#
The lifecycle is another important concept in BAS, representing the time a bullet screen survives. If the duration property is not specified, the element's lifecycle is equal to the total animation time, and if there is no animation, it defaults to 4 seconds. After the lifecycle ends, the element will be cleared from the stage.
def text a {
content = "BAS"
}
def text a {
content = "BAS"
duration = 10s
}
def text a {
content = "BAS"
}
set a {} 10s
Adaptability#
When position and font size are percentage values, they can adapt based on the stage size, achieving consistent effects for bullet screens across different platforms and player sizes. This ensures that the position and size of the bullet screen relative to the video are fixed, with position coordinates being the current stage width and height * percentage value px, and font size being the current stage width * percentage value px.
def text c {
content = "BAS"
x = 50%
y = 50%
anchorX = 0.5
anchorY = 0.5
fontSize = 5%
}
At this point, changing the player size will also change the bullet screen size, resulting in a fixed position and size relative to the video.
Interaction#
Currently, only interactive buttons support some simple click effects, such as jumping to a specific time in the video or opening another video in a new window.
Seek button:
def button c {
text = "Jump to 30 minutes"
x = 35%
y = 45%
fontSize = 5%
textColor = 0xffffff
fillColor = 0x80D8FF
target = seek {
time = 30m
}
}
AV jump button:
def button c {
text = "av1714157"
x = 35%
y = 45%
fontSize = 5%
textColor = 0xffffff
fillColor = 0x80D8FF
duration = 2s
target = av {
av = 1714157
page = 1
time = 20.5s500ms
}
}
Bangumi jump button:
def button c {
text = "Episode 22 Spring Breeze"
x = 35%
y = 45%
fontSize = 5%
textColor = 0xffffff
fillColor = 0x80D8FF
duration = 2s
target = bangumi {
seasonId = 1699
episodeId = 80041
time = 1m30s
}
}
Graphics#
You can use path objects to draw SVG graphics, with the d property corresponding to the SVG path.
def path p {
d = "M30.828,30.422 18.997,16.260 Z"
viewBox="0 0 32 34"
x = 45%
y = 45%
scale = 3
borderWidth = 1
borderColor = 0xffffff
borderAlpha = 0.8
fillColor = 0x00a1d6
fillAlpha = 0.8
}
Animation#
Animations are divided into simple animations, sequential animations, and parallel animations.
Bullet screen properties can be categorized as changeable, unchangeable, and immutable. Only changeable properties will have normal animation effects; setting new values for non-changeable properties will take effect immediately, while setting values for immutable properties will be ignored. In principle, a property can appear only once in a set statement; if it appears multiple times, the last occurrence will prevail.
Sequential animations run in order.
def text a {
content = "BAS"
}
set a {
color = 0x000000
} 1s
then set a {
alpha = 0
} 1s
Parallel animations run simultaneously. When parallel animations have the same property, the last occurrence prevails, and previous conflicting animations will be ignored. Due to technical limitations, x, y, rotateX, rotateY, rotateZ, and scale are considered the same property.
def text a {
content = "BAS"
}
set a {
color = 0x000000
} 1s
set a {
alpha = 0
} 1s
Frontend Implementation of BAS Bullet Screens#
The main steps from BAS script to rendering in the browser's DOM elements are as follows:
- Parse the BAS script into JavaScript objects (https://github.com/aristotle9/as3cc)
- Apply default values and calculate percentage values
- Monitor the lifecycle
- Resolve property conflicts
- Draw elements, apply styles and animations
- Bind interactive events
Positioning#
Positioning is determined by the anchor points (anchorX anchorY) and positions (x y) in the BAS script. It is implemented using two nested DOM elements, with the outer element positioning the stage and the inner element positioning the bullet screen anchor point. For example, a centered text object:
def text c {
content = "BAS"
x = 50%
y = 50%
anchorX = 0.5
anchorY = 0.5
}
The rendered DOM structure looks something like this:
<div style="transform:translate((stage width*50%)px, (stage height*50%)px);">
<div style="transform:translate(-50%,-50%);">BAS Bullet Screen</div>
</div>
Animation#
Considering browser compatibility and ease of use, CSS3 animations are the best choice, involving the following properties:
Property | Description |
---|---|
@keyframes | Defines the animation |
animation-name | Corresponds to the name of the @keyframes animation |
animation-duration | The time it takes to complete one cycle of the animation |
animation-play-state | Whether the animation is running or paused |
animation-timing-function | The speed curve of the animation |
Simple Animation#
Using the previous example:
def text demo {
content = "BAS"
}
set demo {
alpha = 0
} 5s
The DOM structure rendered by this BAS script looks something like this:
<style>
@keyframes a1 {
100% { opacity:0; }
}</style>
<div style="animation-name:a1;animation-duration:5s;opacity:1;">BAS</div>
Keyframes define the animation keyframes, with the opacity being zero at the end of the animation; animation-duration corresponds to the animation time of 5s.
Parallel Animation#
Define multiple keyframes to achieve multiple animations running simultaneously.
def text a {
content = "BAS"
}
set a {
color = 0x000000
} 1s
set a {
alpha = 0
} 1s
<style>
@keyframes a1 {
100% { color:#000000; }
}
@keyframes a2 {
100% { opacity:0; }
}
</style>
<div style="animation-name:a1,a2;animation-duration:1s,1s;opacity:1;color:#ffffff;">BAS</div>
Sequential Animation#
Use animation-delay to stagger the start times of different animations to achieve a sequential effect.
def text a {
content = "BAS"
}
set a {
color = 0x000000
} 1s
then set a {
alpha = 0
} 1s
<style>
@keyframes a1 {
100% { color:#000000; }
}
@keyframes a2 {
0% { color:#000000; }
100% { color:#000000;opacity:0; }
}
</style>
<div style="animation-name:a1,a2;animation-duration:1s,1s;animation-delay:0s,1s;opacity:1;color:#ffffff;">BAS</div>
State Control#
Start#
animation-play-state: running
Pause#
animation-play-state: paused
Intermediate State#
Setting animation-delay to a negative value allows the animation to start from a certain intermediate state.
For example, if the bullet screen's lifecycle corresponds to video from 1s to 5s, and the video jumps to 4s, the bullet screen's animation-delay property needs to be set to -1s.
End#
When the lifecycle ends, elements need to be cleared promptly. The principle is that the end of the animation triggers the animationend event, and when this event is triggered, the element can be cleared. If the element has no animation, an empty animation needs to be specified.
<style>
@keyframes a1 {
100% { }
}
</style>