I have wanted to set up a home NAS device for a long time. Taking advantage of this year's Double Eleven, I bought a Synology DS218play and a 4TB hard drive from Cool Wolf on JD.com. I have been using it for two days now, and my feeling is:
Awesome
Usage#
Currently, there are several commonly used functions:
Time Machine#
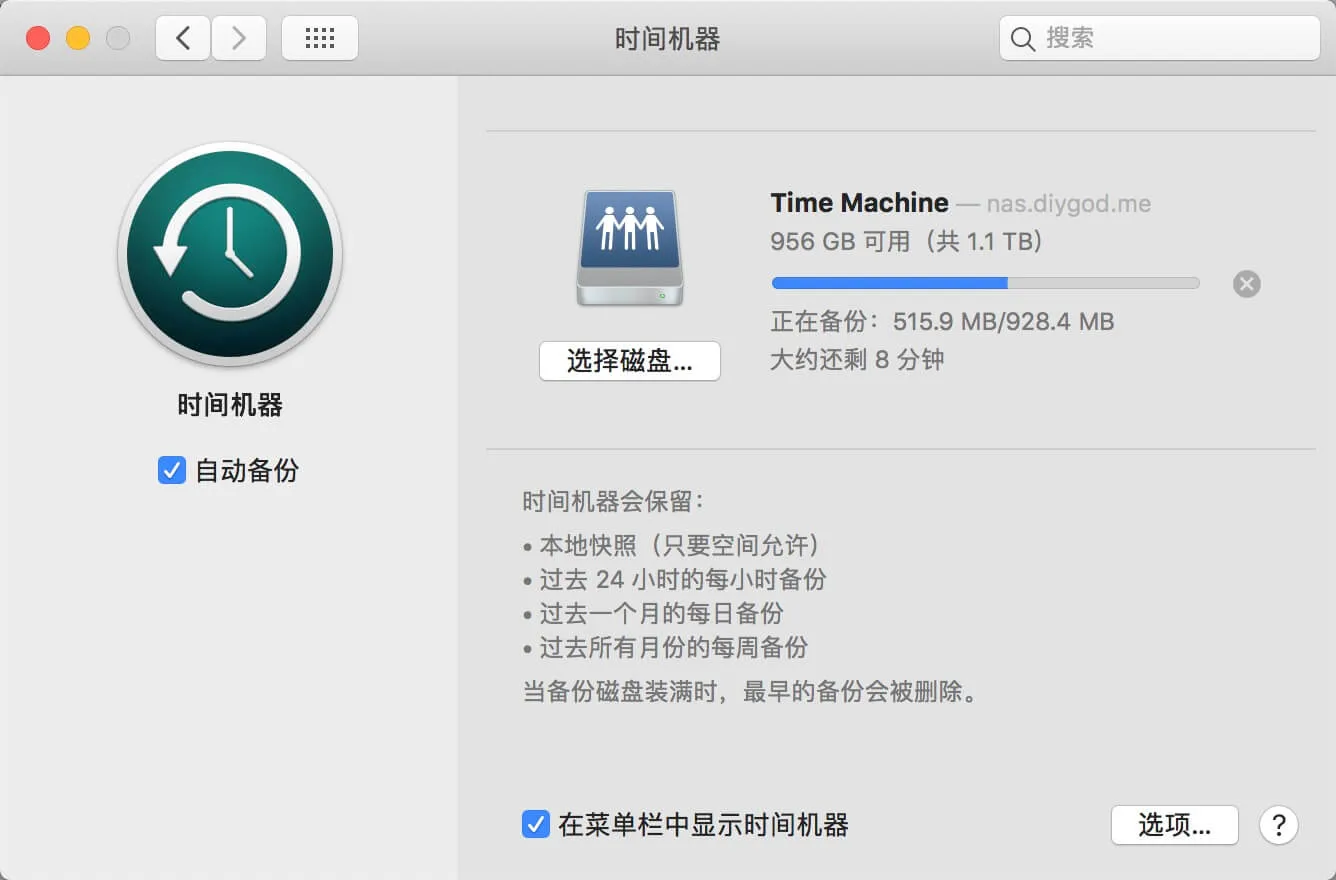
Previously, when using Time Machine for backup, I had to keep the external hard drive connected all the time, which was very troublesome and easy to forget. It was often when my Mac reminded me that I hadn't backed up for more than 10 days that I remembered to plug in the external hard drive for backup. With NAS, I can achieve wireless and remote backup, and my Mac can automatically back up to the NAS at home every hour, no matter where I am.
BT Download#
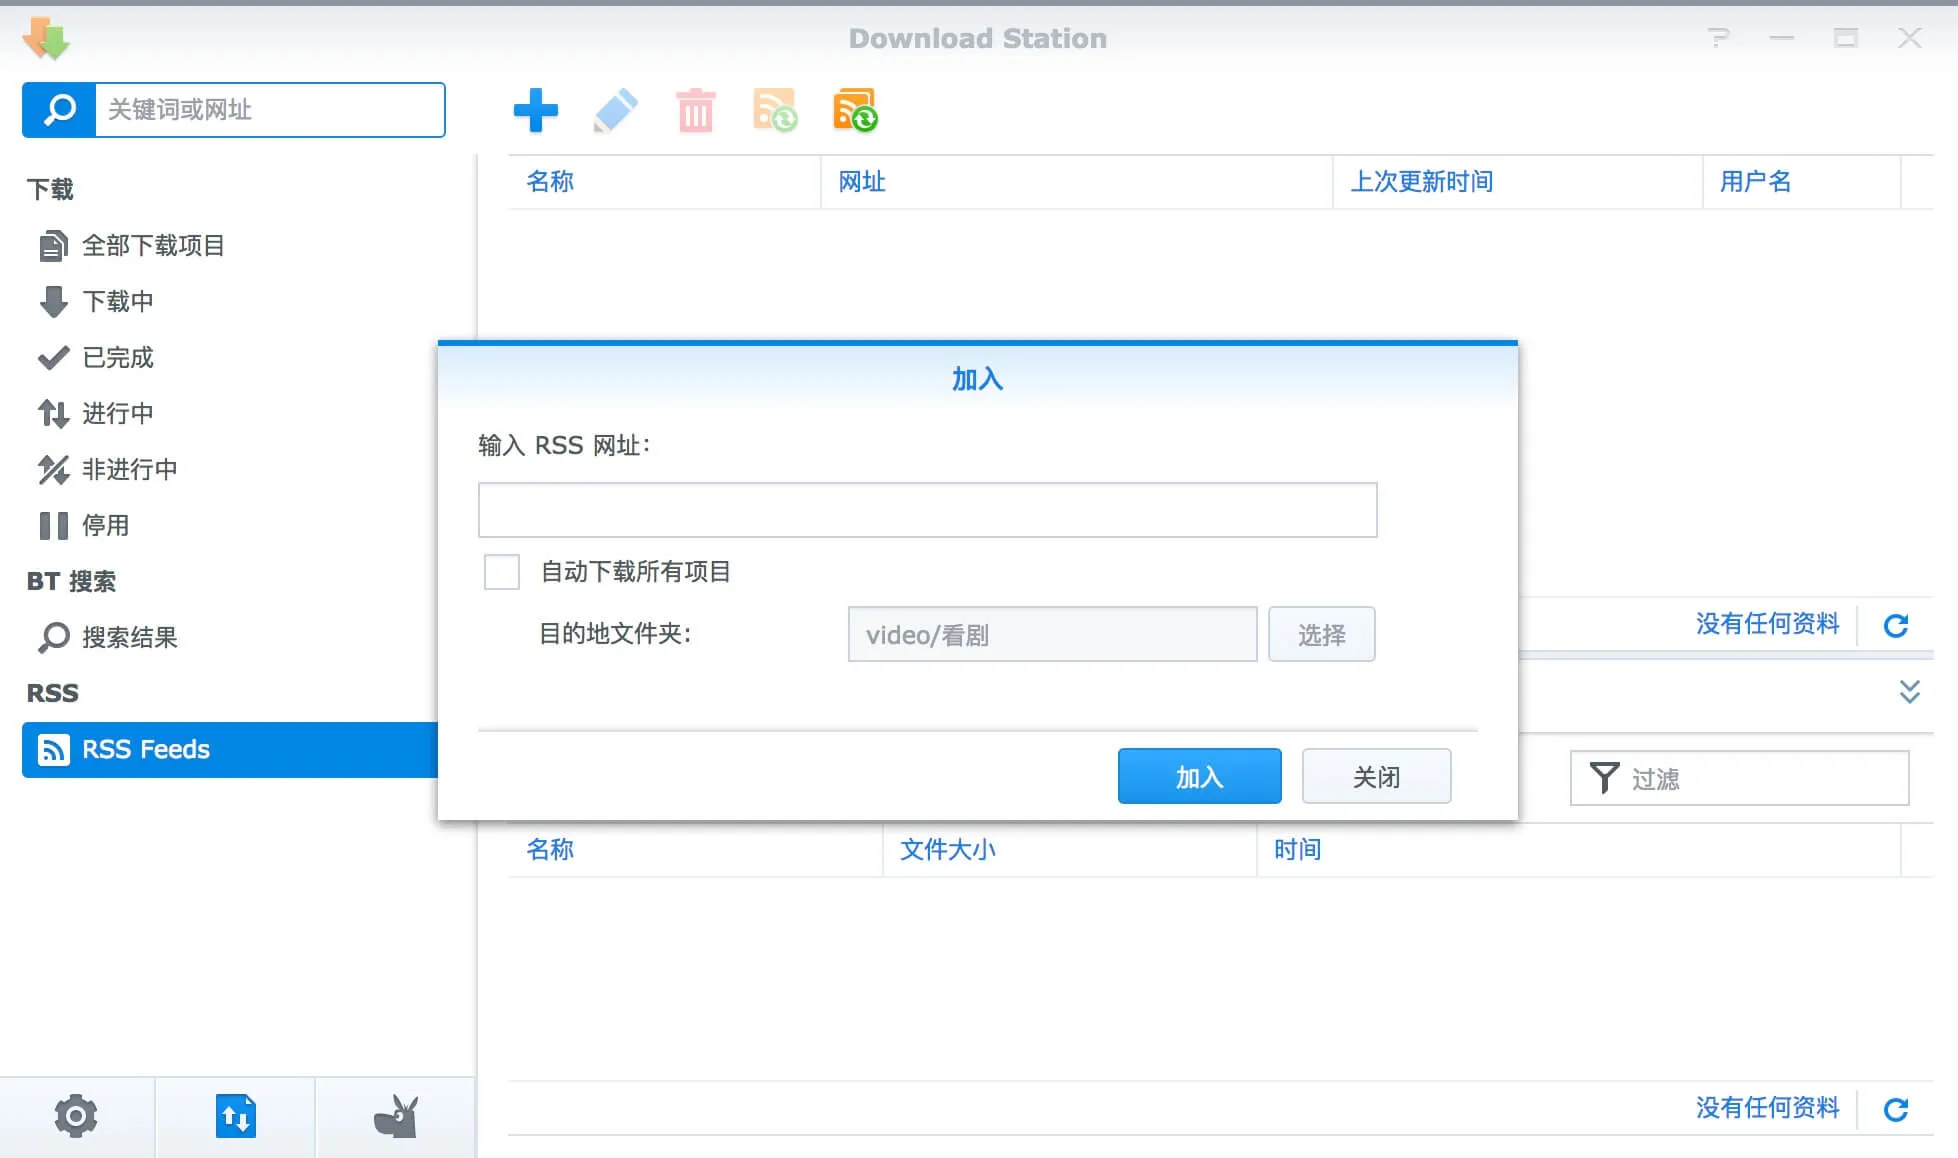
I use RSS to subscribe to my favorite anime or TV shows. When there are updates, they can be automatically downloaded. Or, when I'm "slacking off" at work and come across a movie I like, I can remotely log in to my Synology at home, add a BT task, and watch it directly when I get home at night.
Storage#
This is the most basic function of a NAS. Its biggest advantage is the ability to quickly share files between different devices.
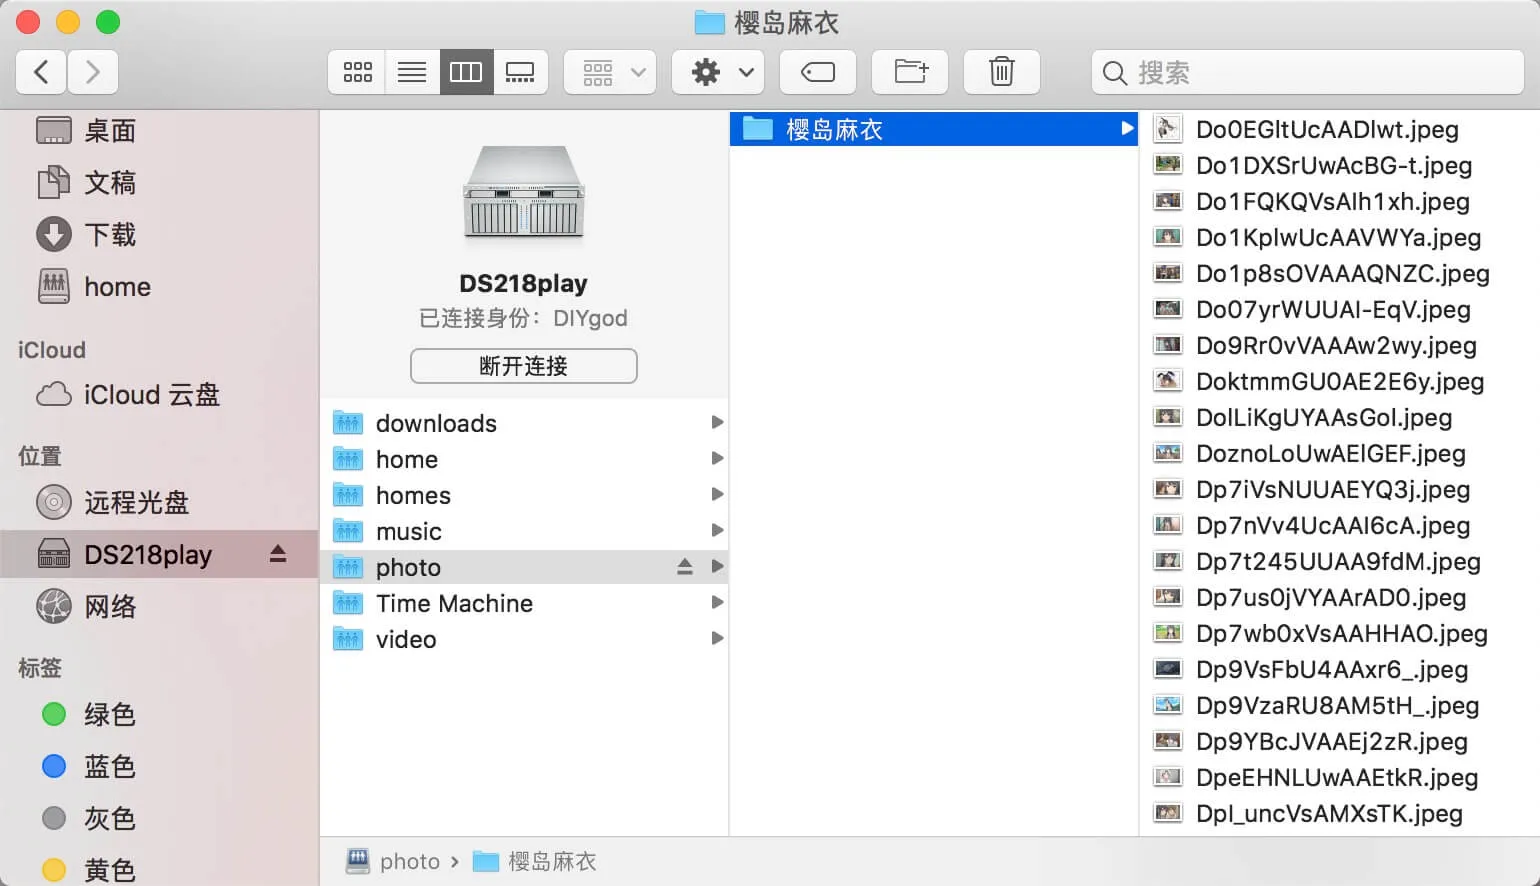
For example, I can save photos of Sakura Shima Mai to the NAS on my computer, and then open them on my phone whenever I want.
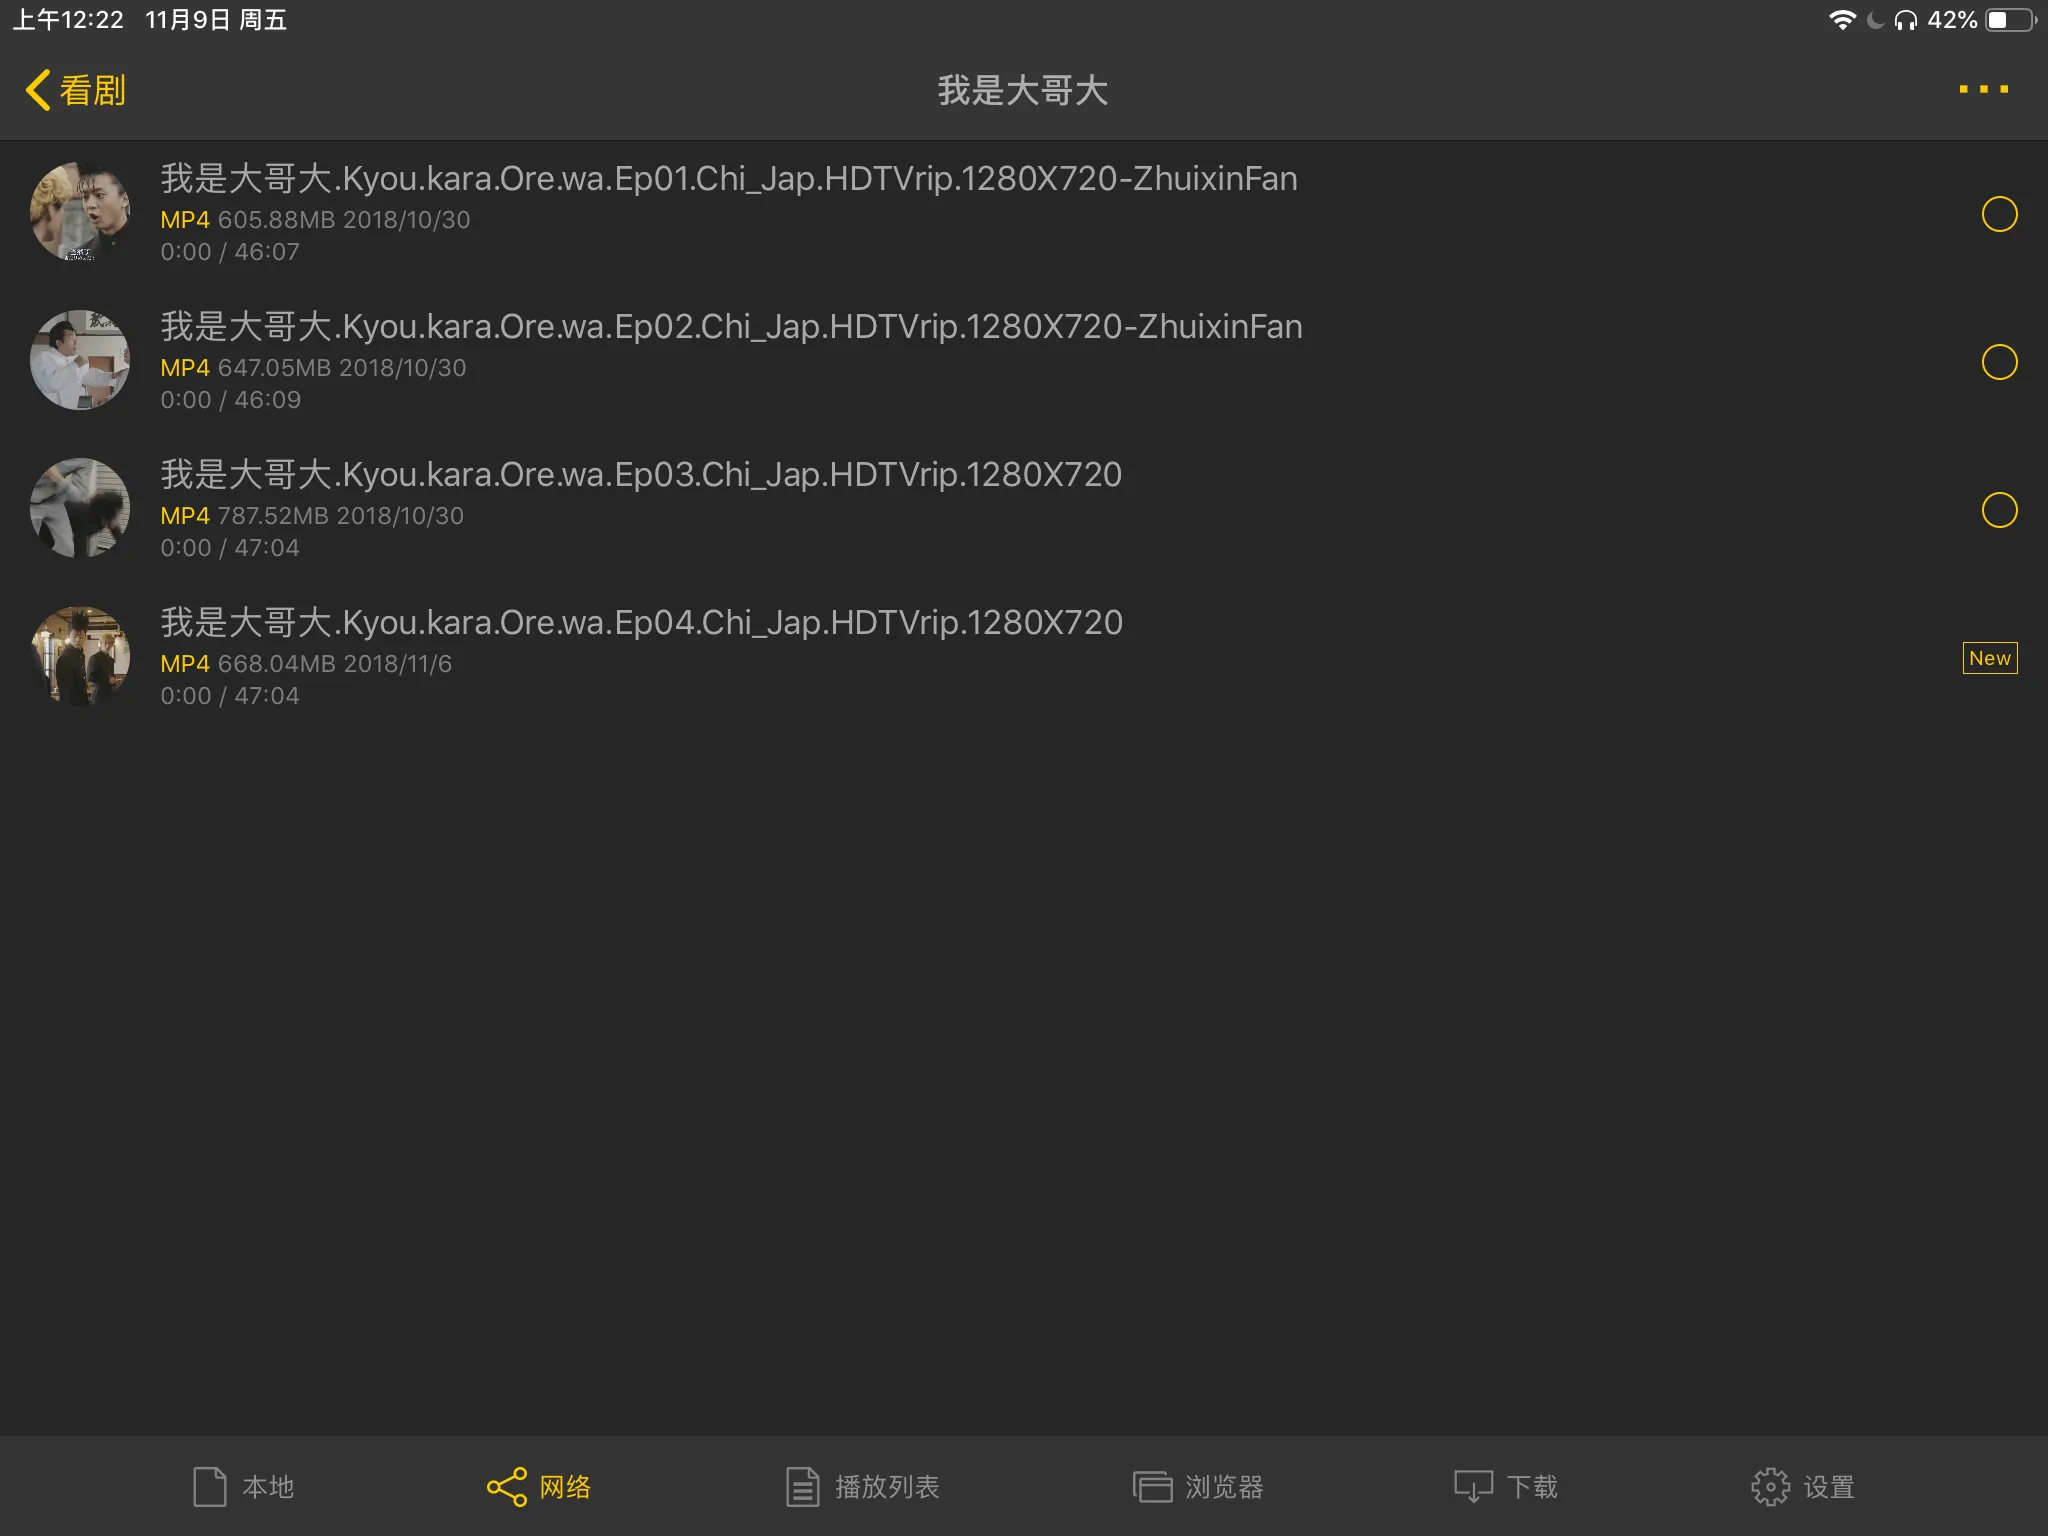
Another example is when I download a Japanese drama. Depending on my mood, I may want to sit at my desk and watch it on my computer, or I may want to lie in bed and watch it on my iPad.
Before having a NAS, I had to connect my iPad to the computer with a data cable, open the incredibly difficult-to-use iTunes, and then copy the video to my iPad in order to watch it.
Deployment#
Synology has something called QuickConnect, which can assign a domain name to the Synology and allow remote connections over the Internet.
But I wanted to bind my own domain name, so I had to go through some trouble, and I didn't expect it to be so complicated.
Port Forwarding#
To map the external network to the internal NAS.
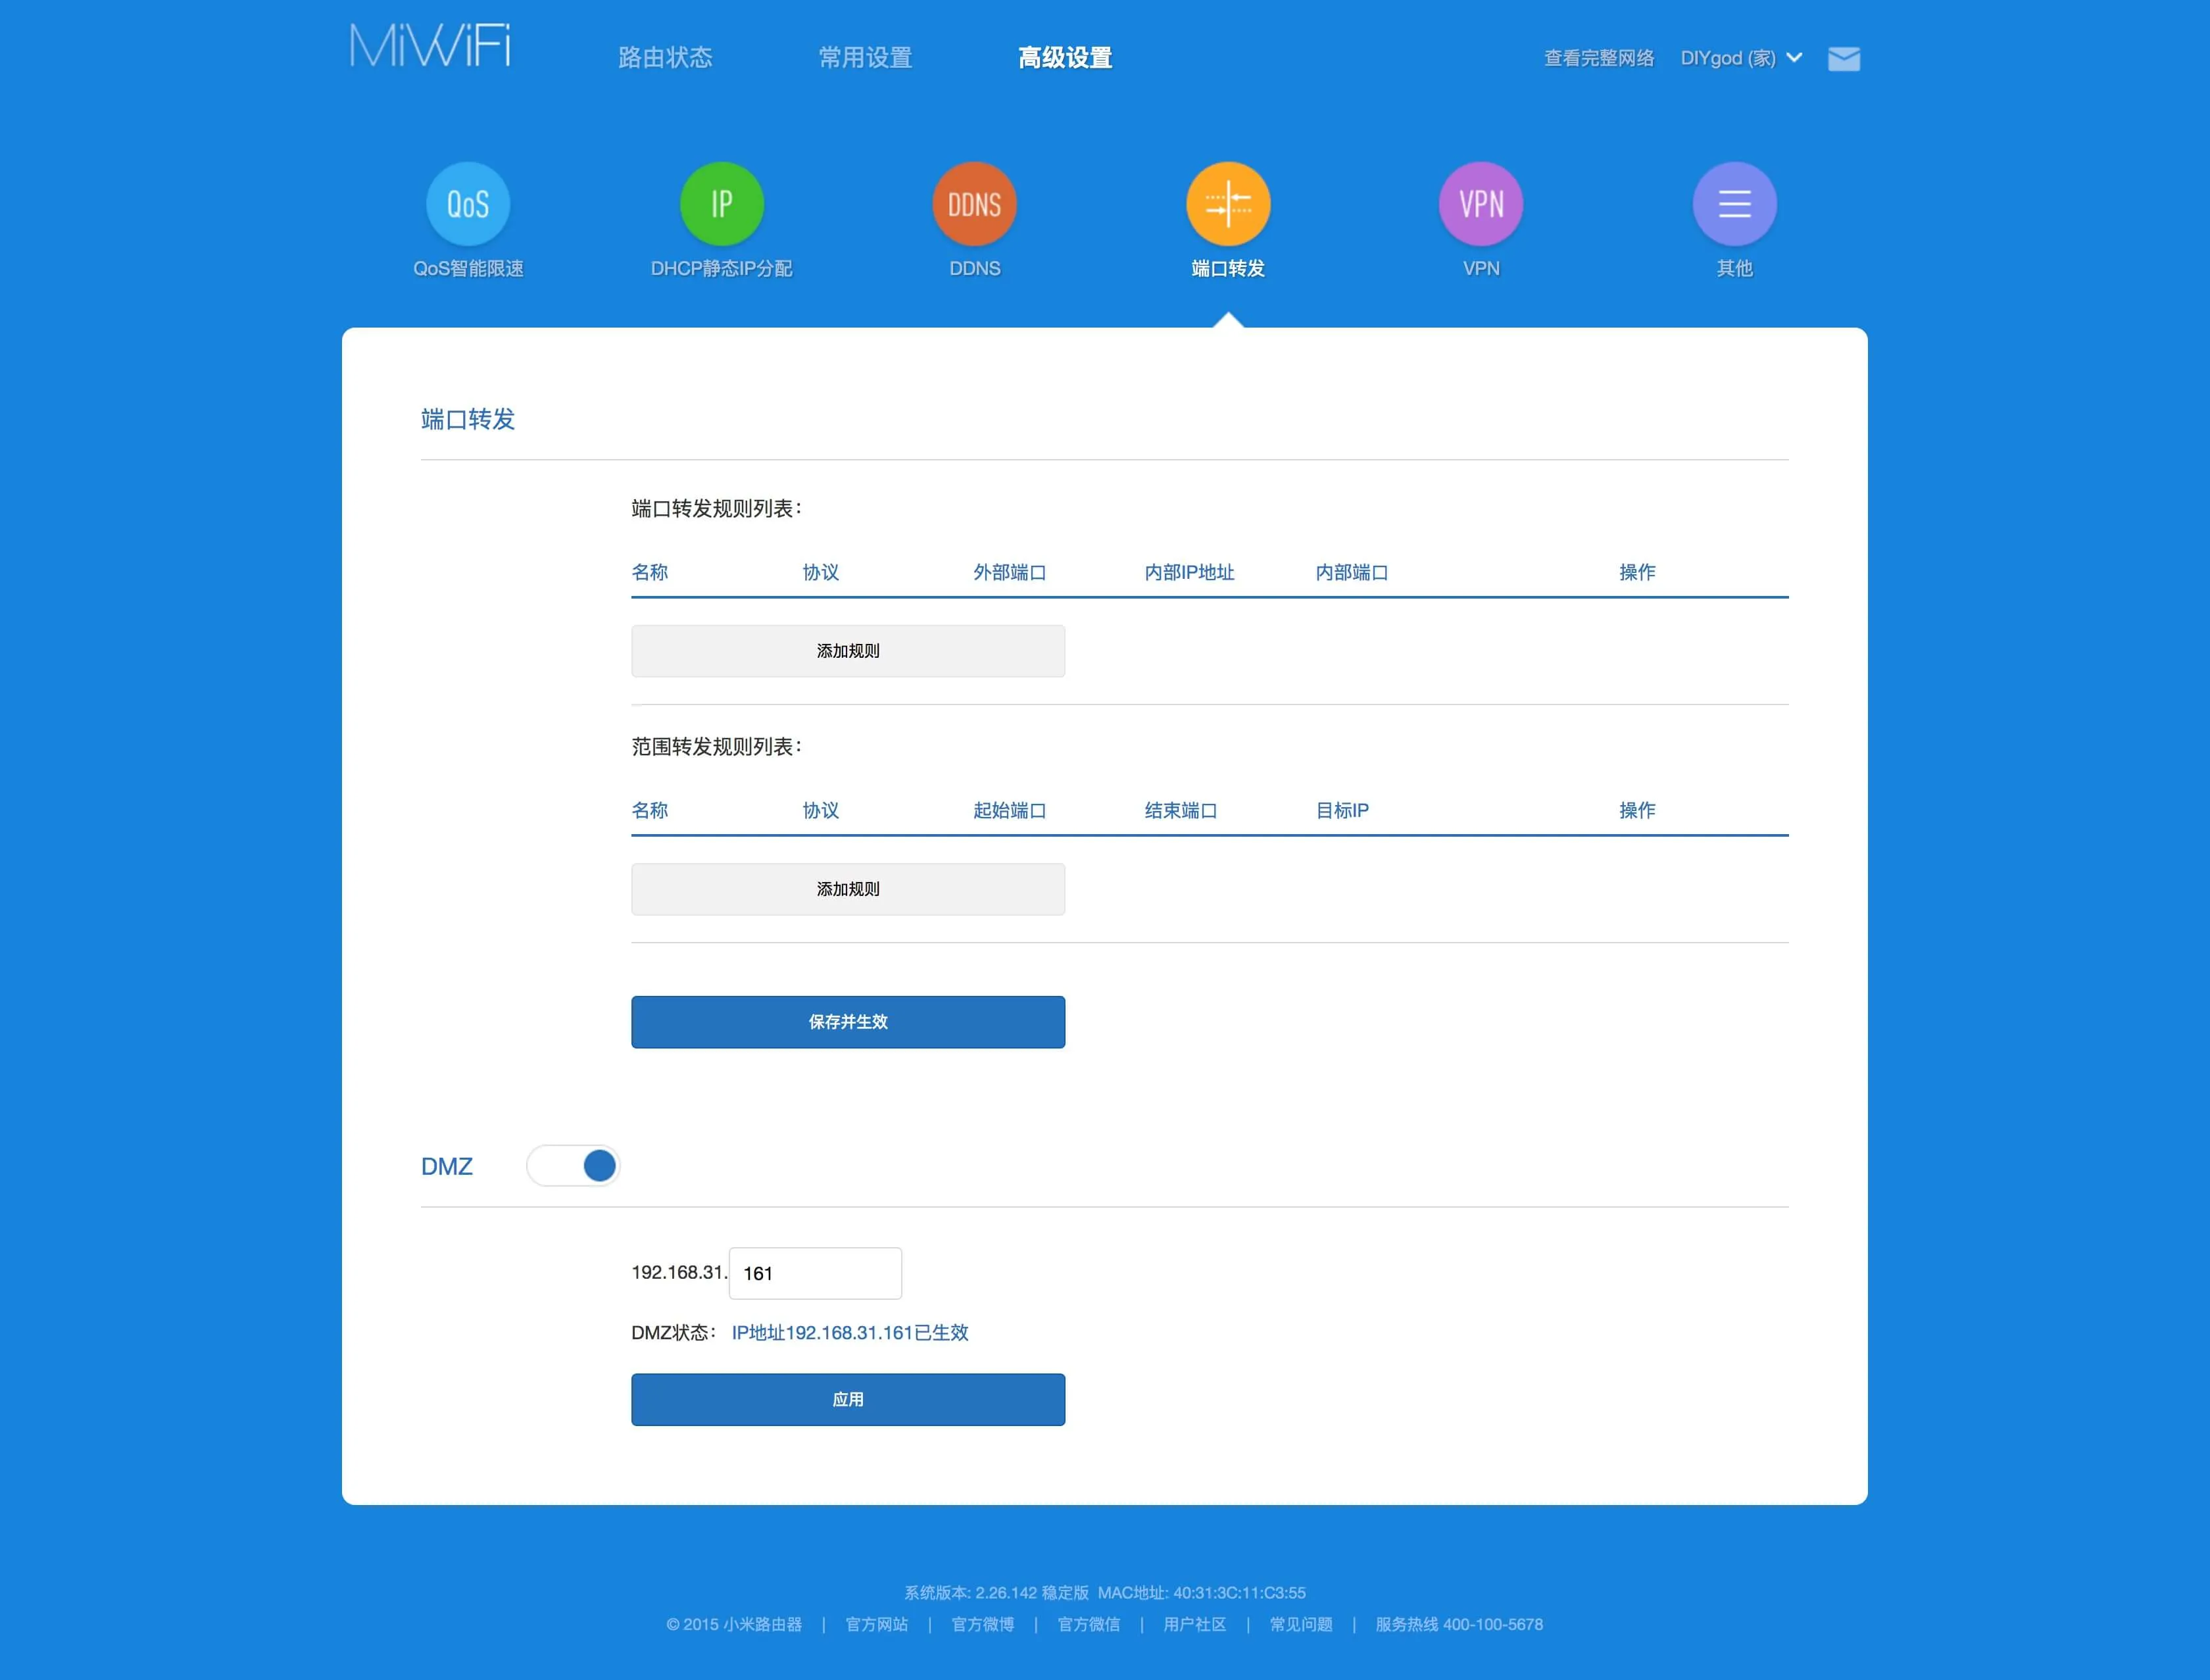
My home broadband already has a public IP, so I just needed to set up port forwarding, thinking it would be simple. But it turned out to be a big pit.
After setting up port forwarding using the DMZ function of the router, I found that it didn't work. Accessing the public IP returned the login page of the modem. I realized that the modem and the router were not bridged, and I needed to set up forwarding on the modem as well. I tried and found that I didn't have the super admin account for the modem and didn't have permission to set it up.
I found several methods to crack the telecom modem on Google, but none of them worked. I called the telecom customer service at around 4 a.m., and someone actually answered... I made an appointment for the telecom technician to come in the morning.
In the morning, the telecom technician came and gave me the super admin account.
After entering the modem's backend with the super admin account, I set the modem and router to bridge mode, and port forwarding worked normally.
DDNS#
To map the dynamic public IP to my domain name.
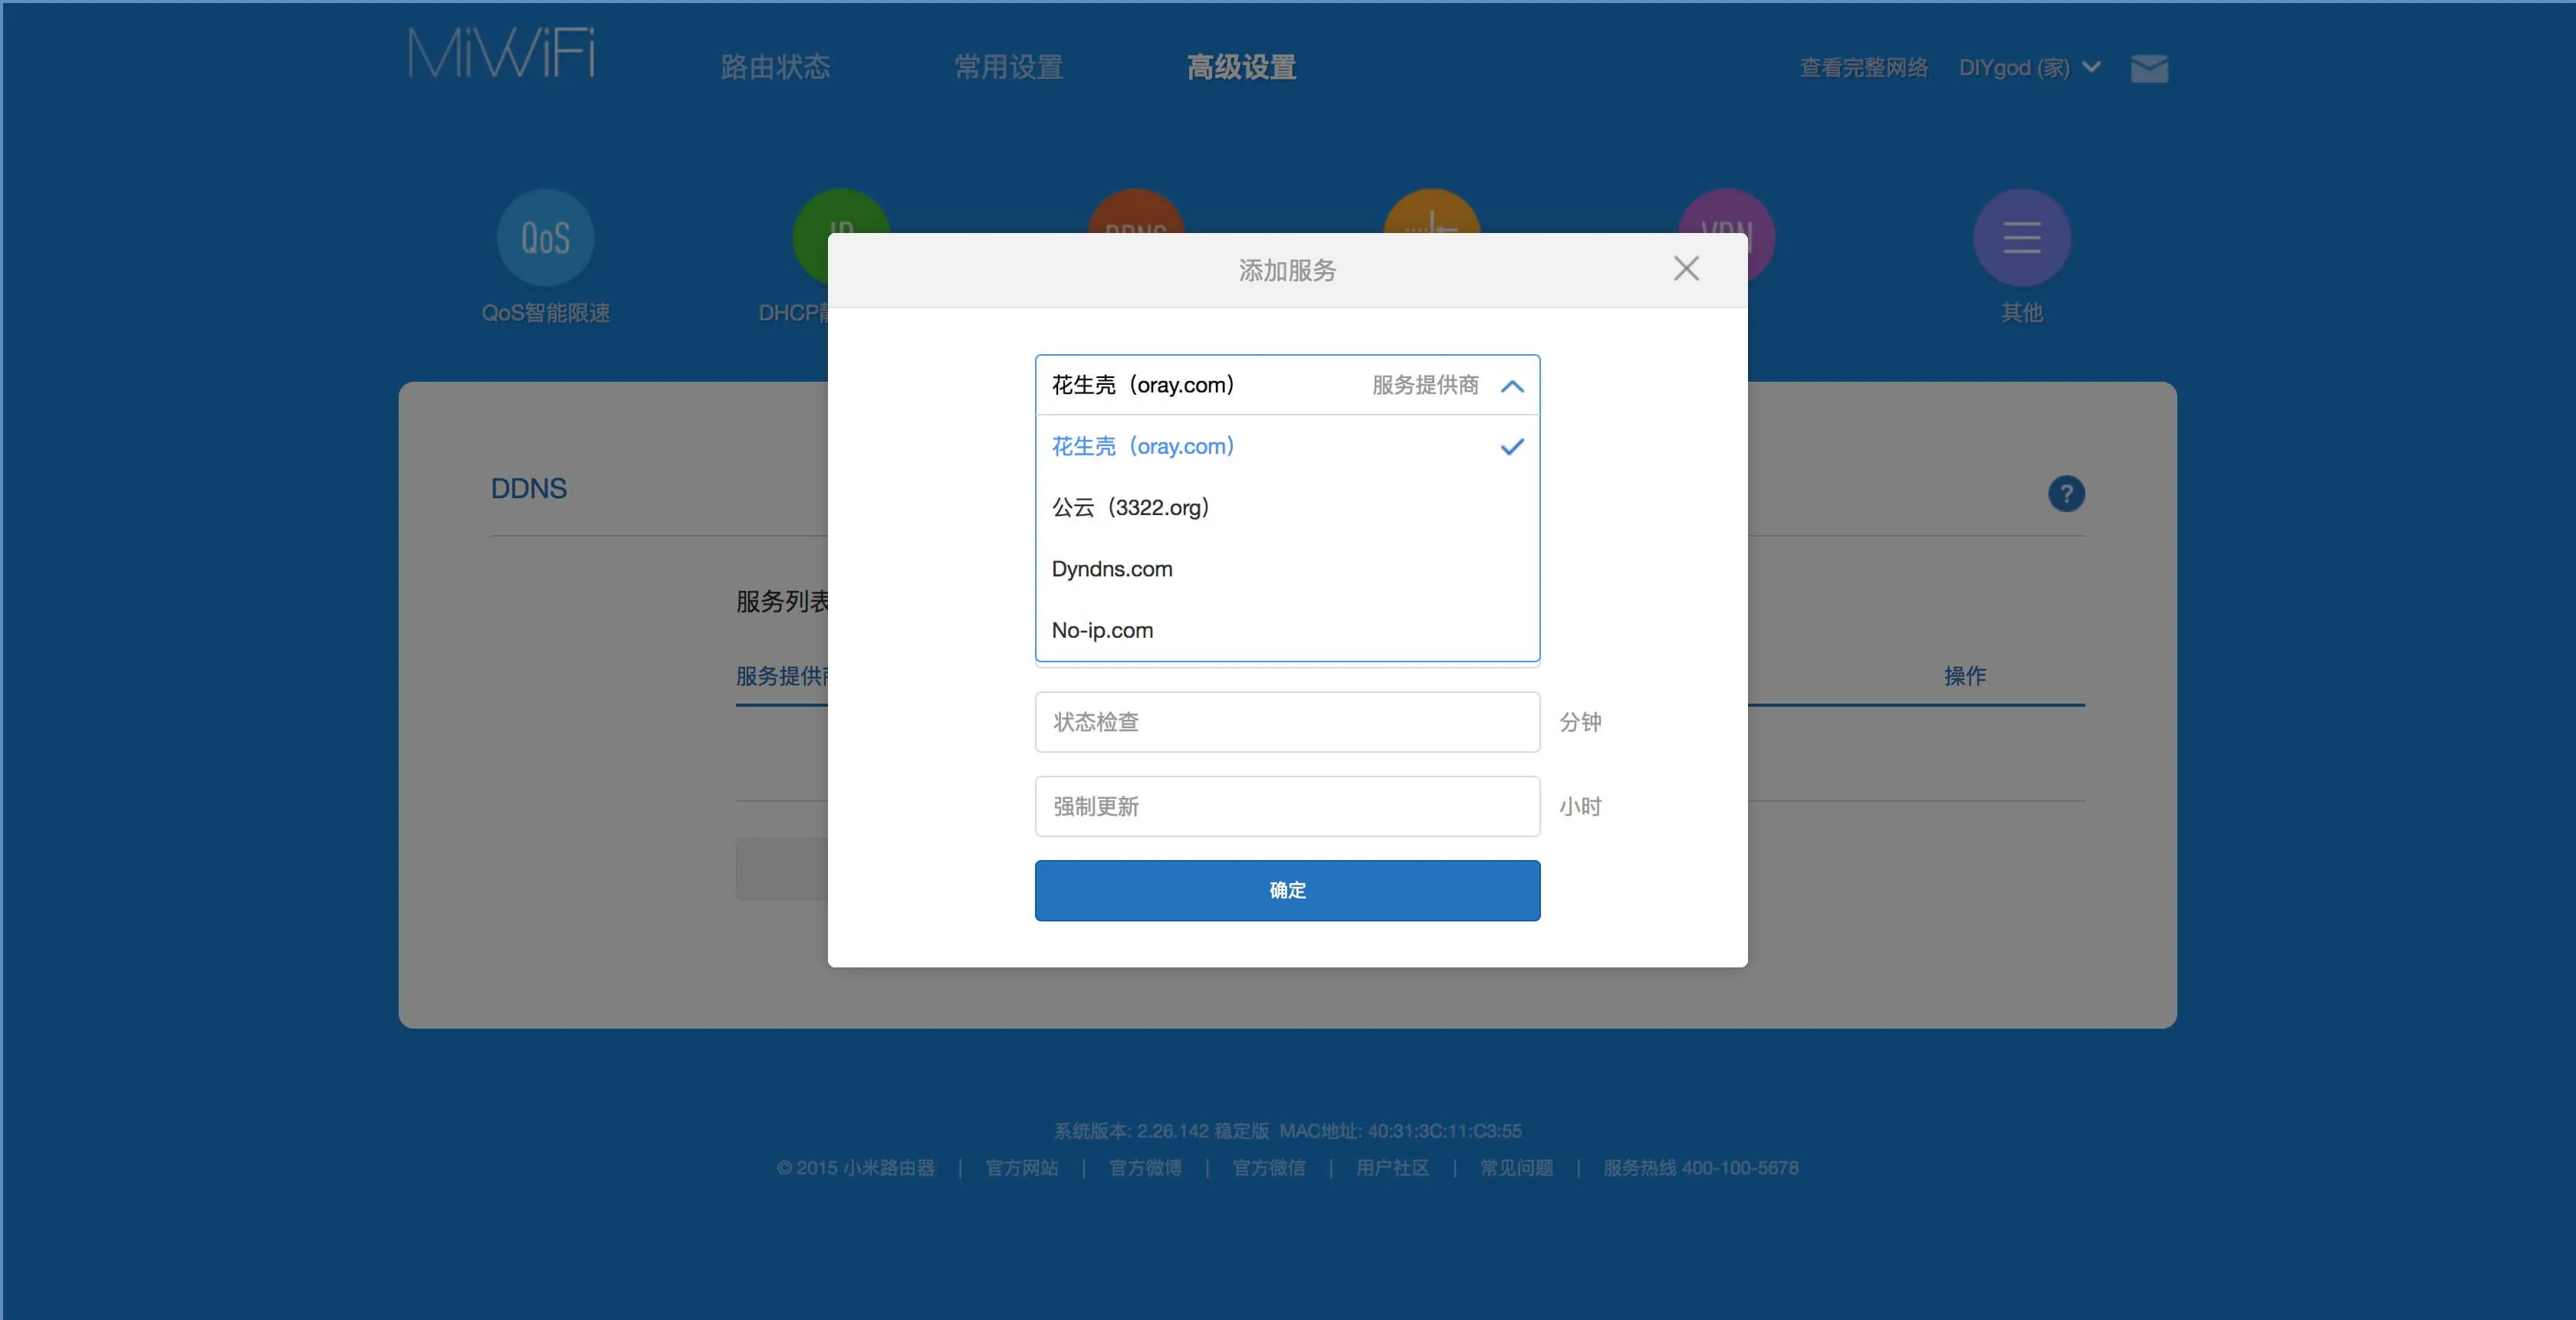
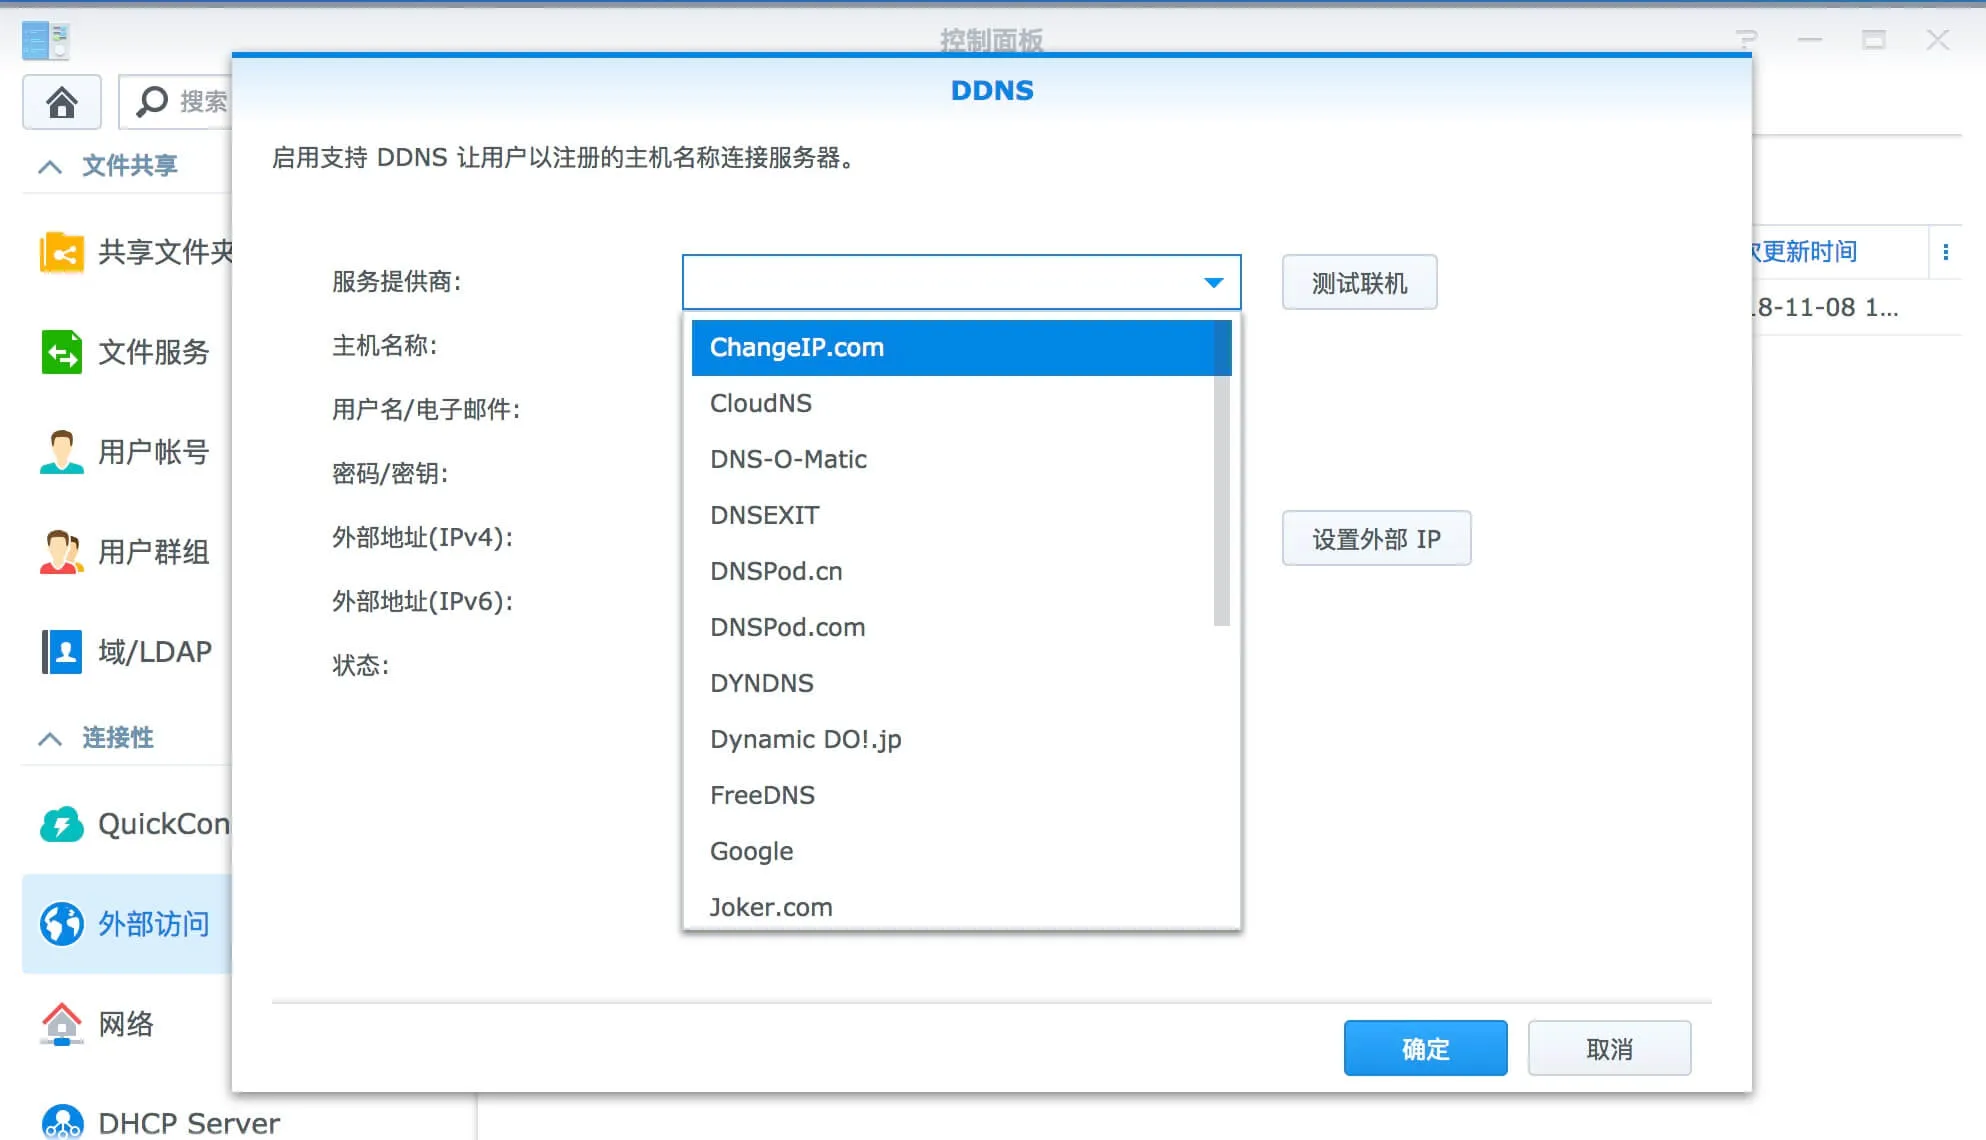
Both Synology and the router have DDNS functionality, but I found that they don't support CloudXNS... so I had to do it myself.
I was pleasantly surprised to find this: https://github.com/lixuy/CloudXNS-DDNS-with-BashShell
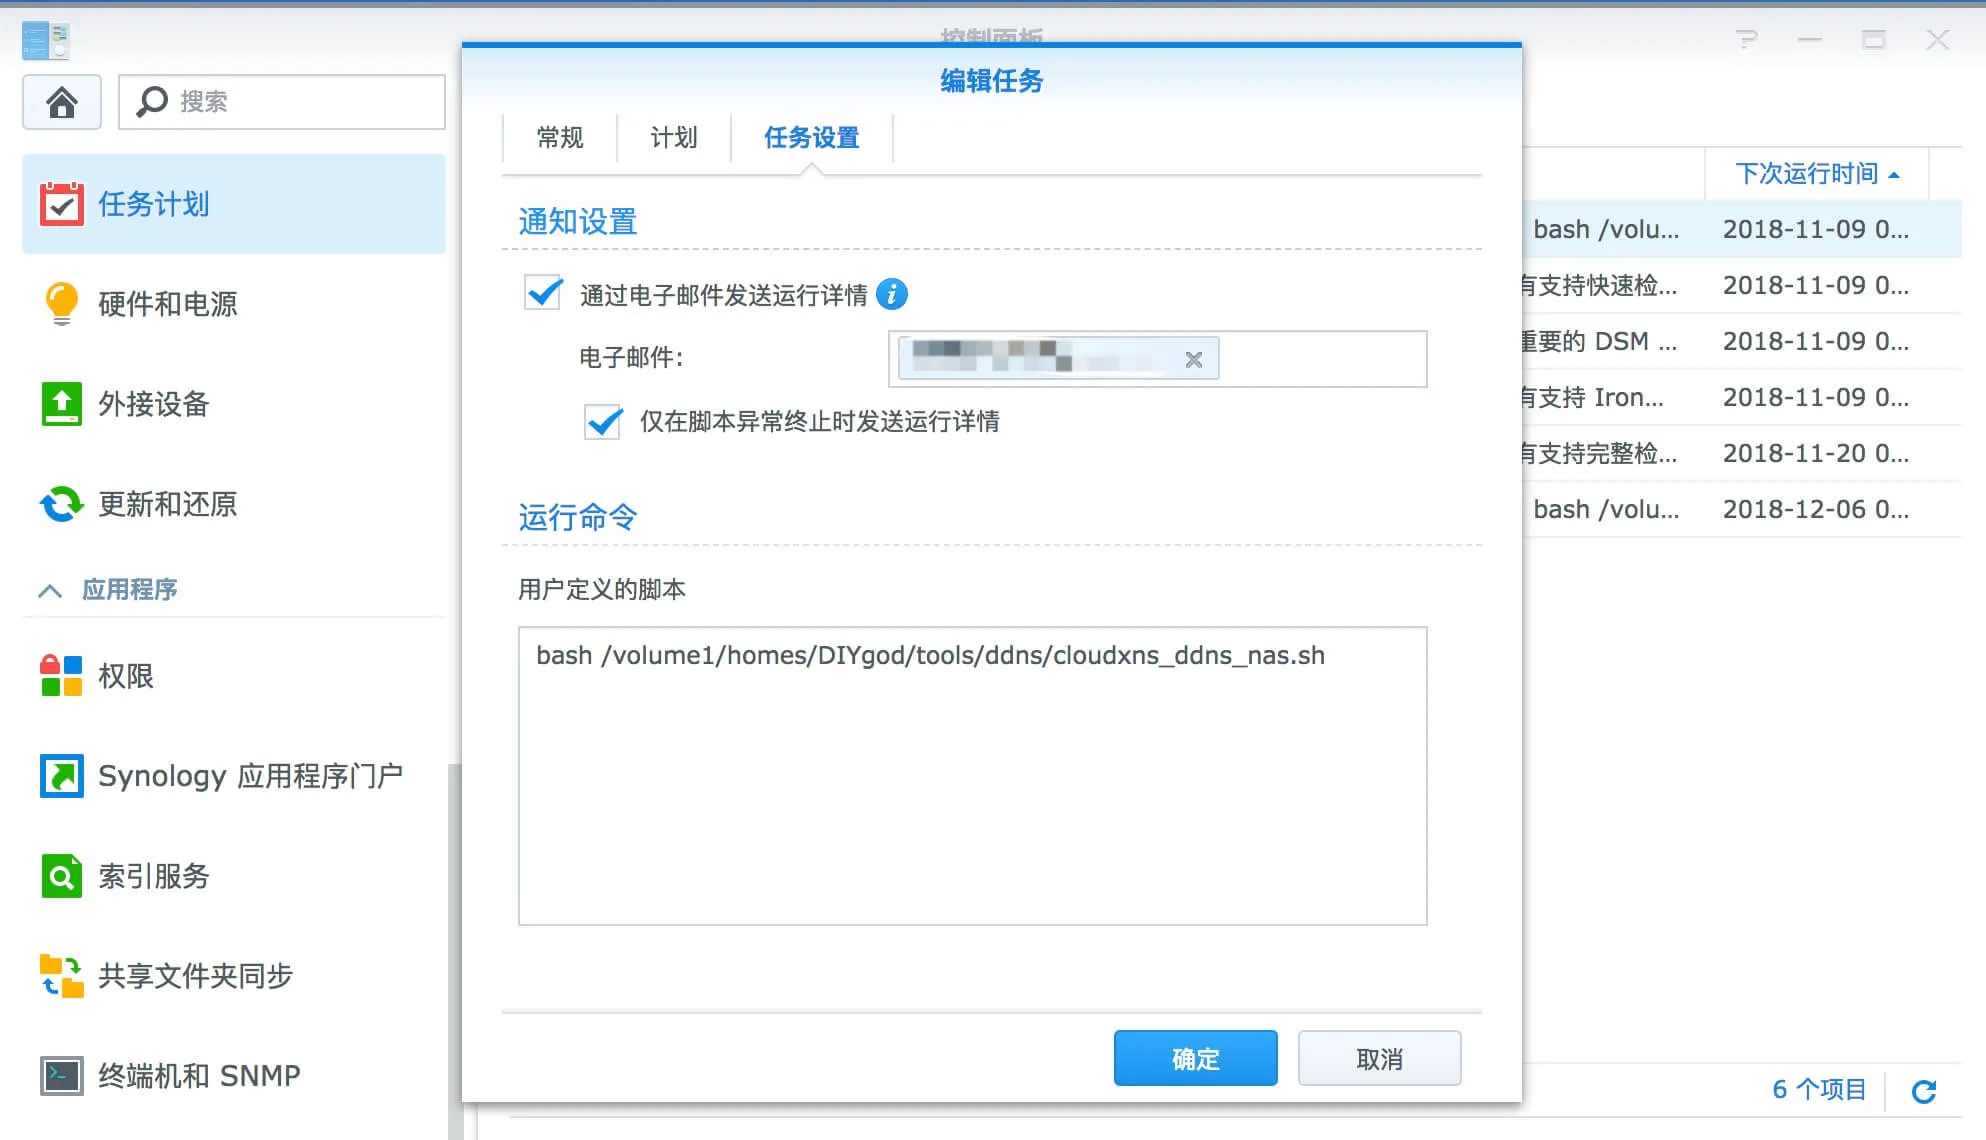
By using Synology's task scheduler to run this script every 10 minutes, I achieved CloudXNS DDNS.
SSL Certificate#
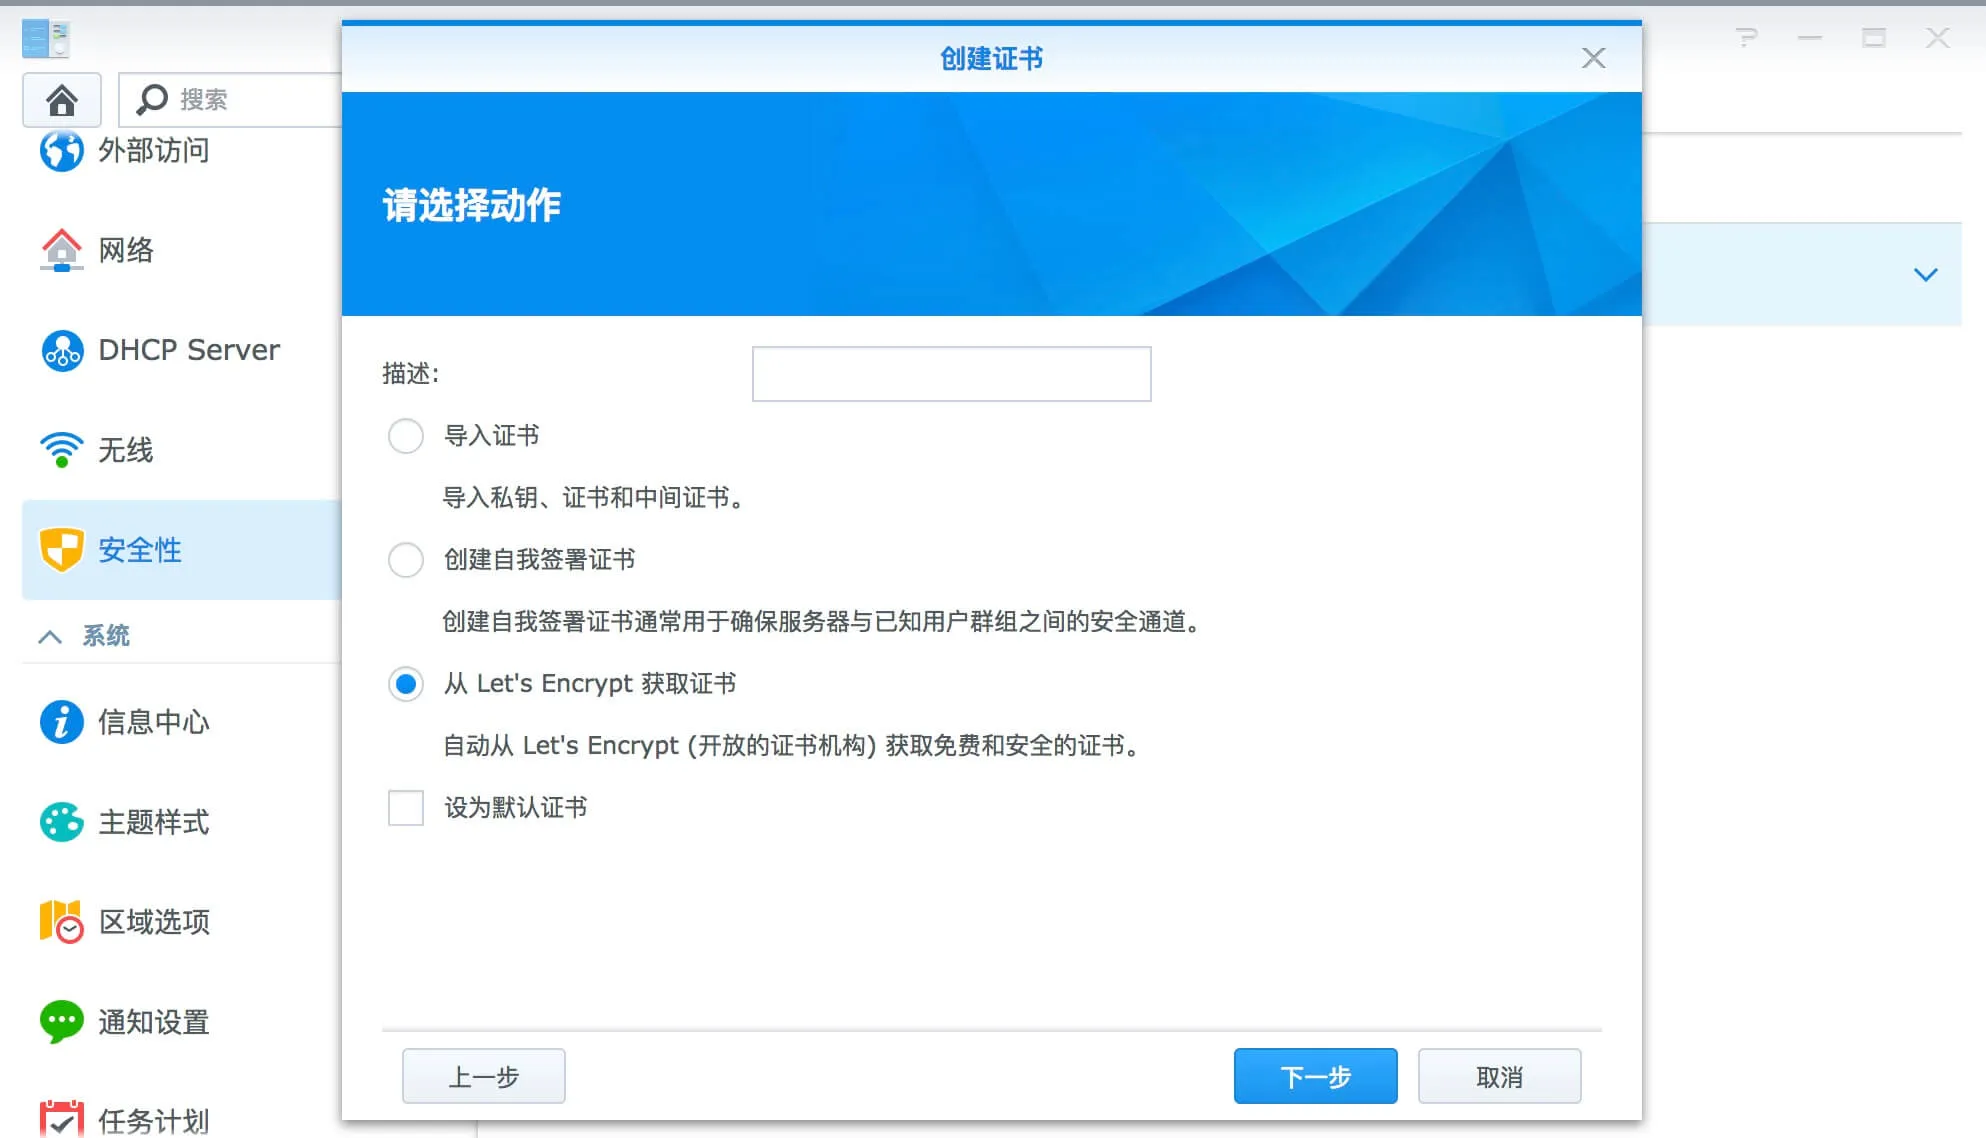
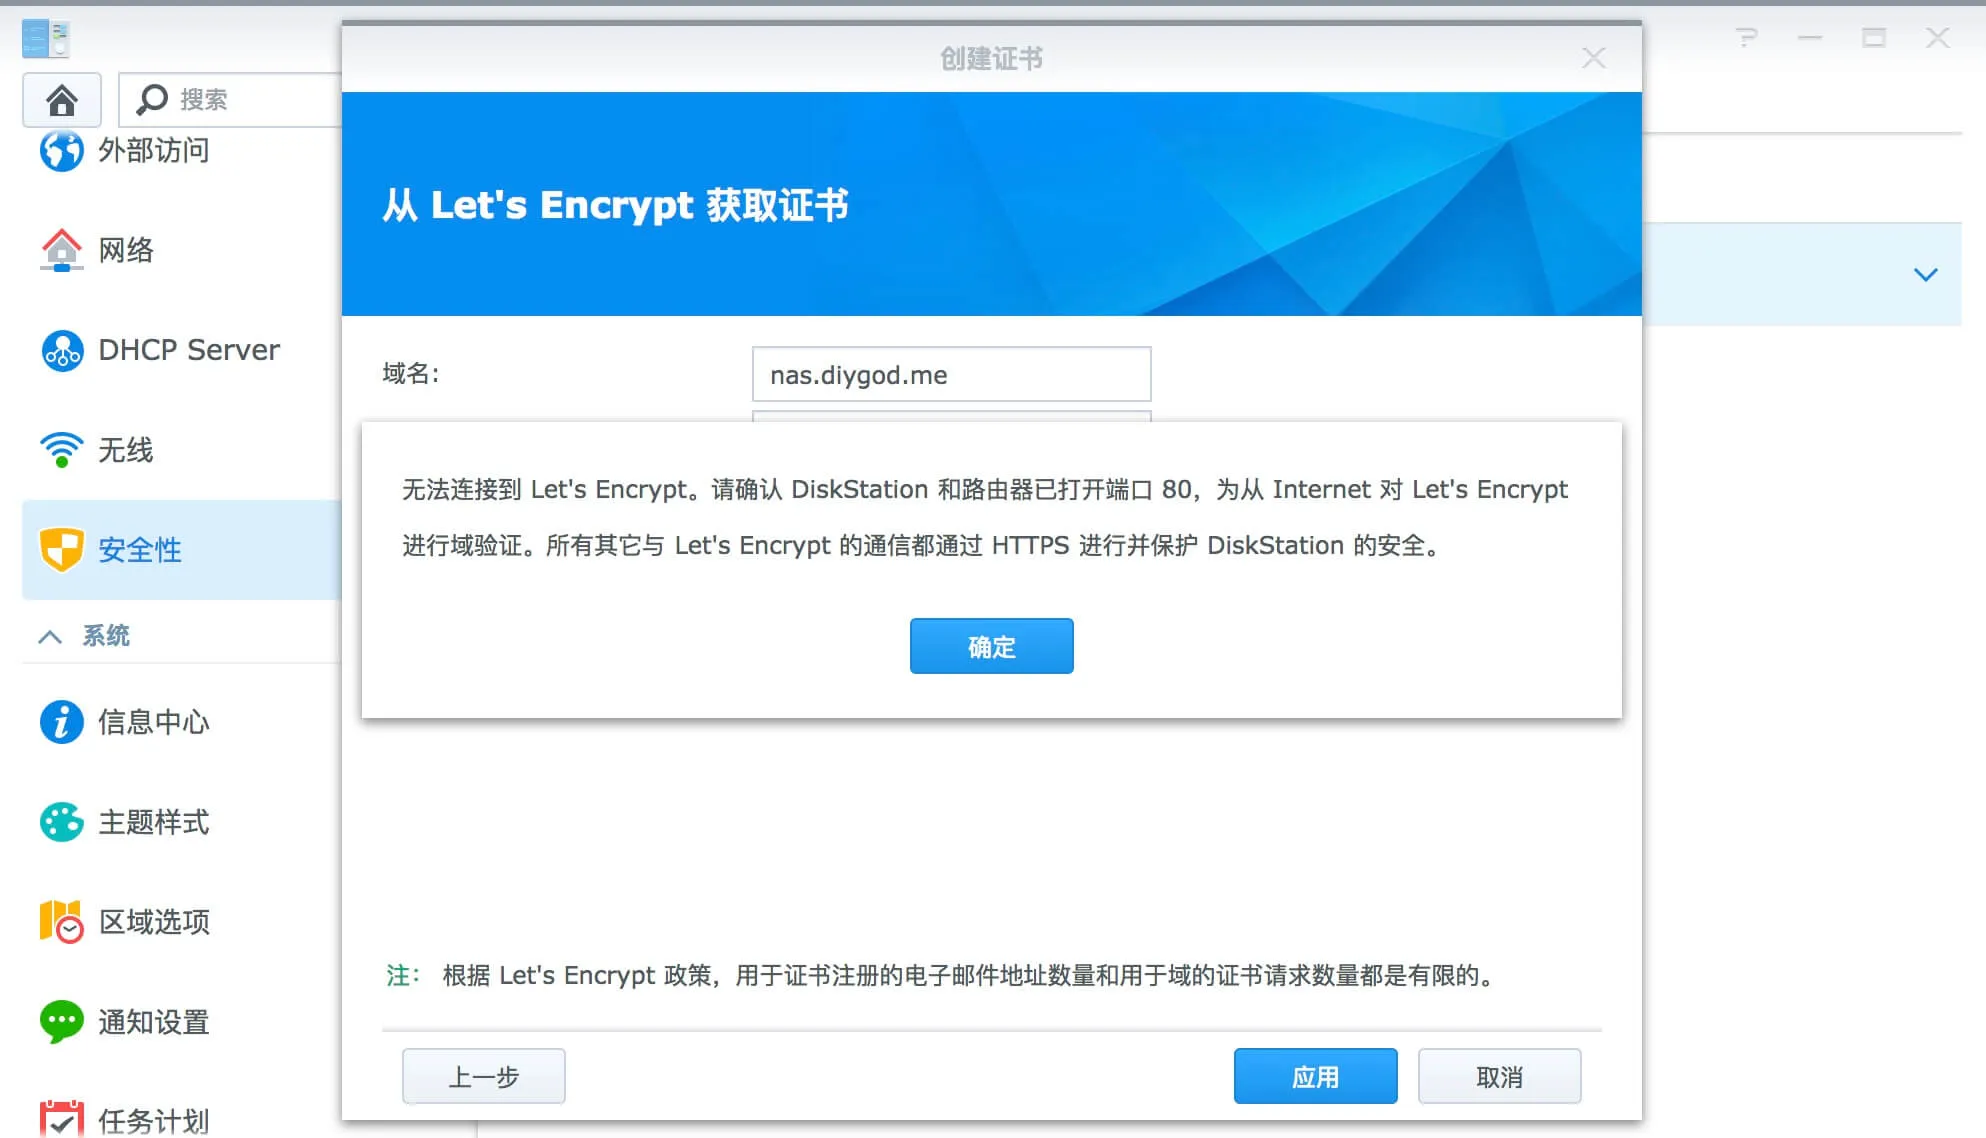
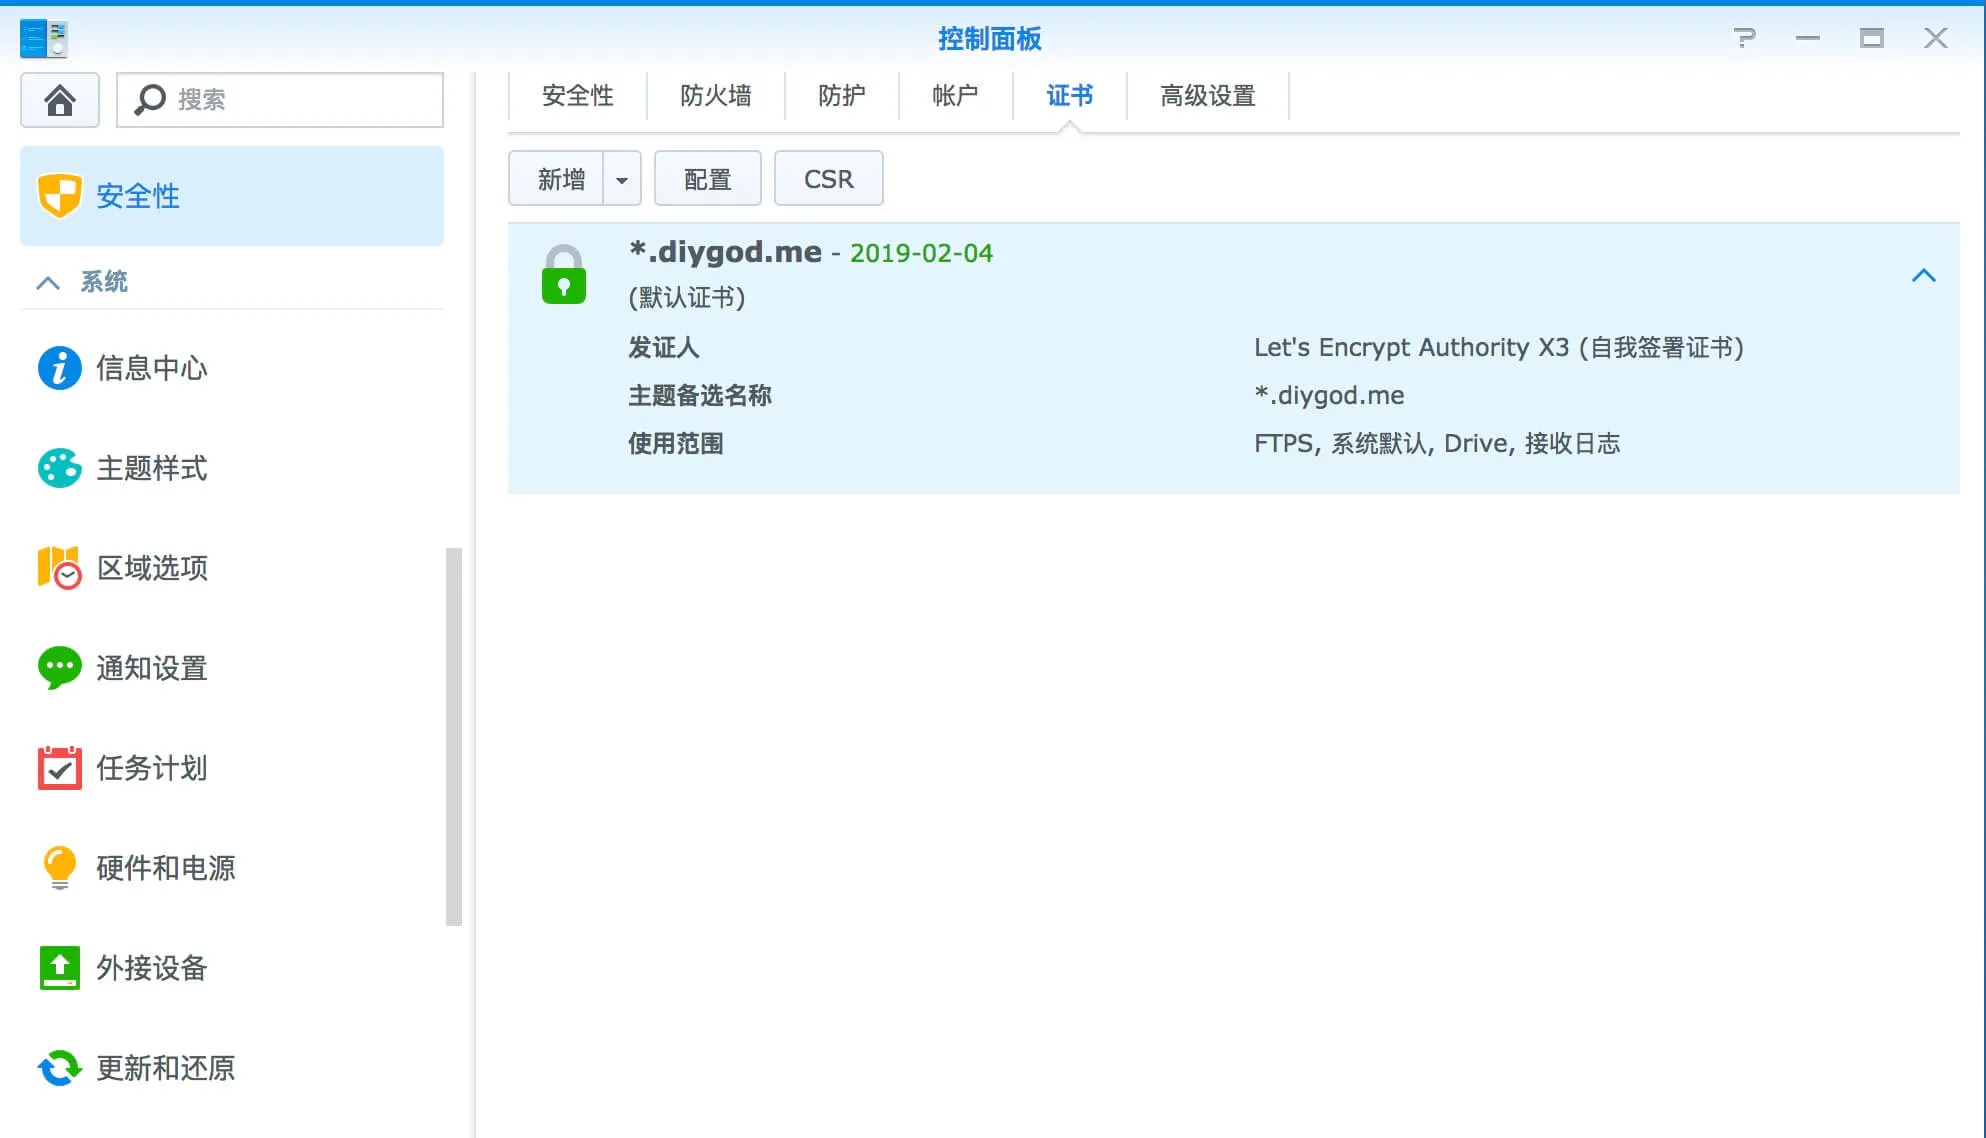
Synology comes with the ability to automatically obtain certificates from Let's Encrypt, which is great.
But I found that Synology's validation method requires port 80, which is not usable in China.
I also found a solution: http://www.up4dev.com/2018/05/29/synology-ssl-wildcard-cert-update/
By using Synology's task scheduler to run this script once a month, I solved the SSL certificate and automatic renewal.
Finally, I was able to remotely access the NAS through my own domain name https://nas.diygod.me:2222. The attentive cutie pie may have already seen this domain name in the first image of the article.